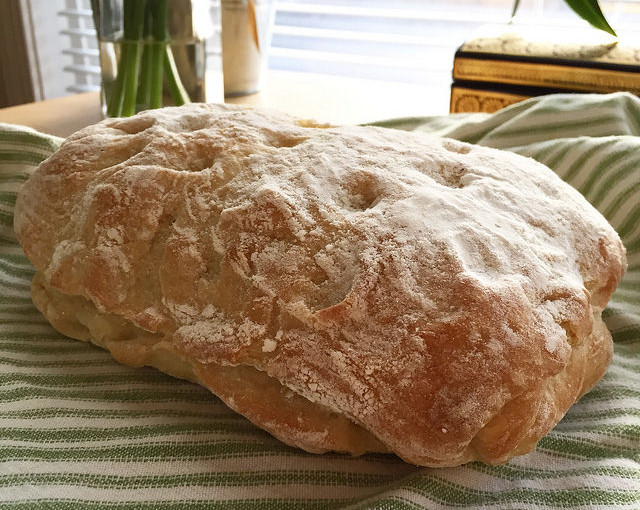
Last January, I started my 2015 bread baking challenge with an attempt at one of the most basic recipes in The Bread Baker’s Apprentice: classic French bread. French bread is practically ubiquitous in Western restaurants and households. It’s one of the most standard, basic accompaniment to practically any dish. It’s the wheat-eating world’s answer to a bowl of white rice. But basic doesn’t mean easy, and out of all the recipes that I’ve tried my hand at this year, this recipe one is the one wherein success seems to evade me the most. But it’s just flour, salt, yeast and water. How hard could it be?
So much of the reason why good French bread is so well-regarded is that it’s not the ingredients that make it good. Of course using higher quality of flour or filtered water might make a bit of a difference when it comes to flavor and texture, but in my baking experience, 90% of what separates a good loaf of French bread from a bad one is execution.

Air is an Ingredient!
This sounds silly, but what makes leavened bread what it is is an airy, porous texture. Baking bread is an interesting practice in capturing empty space– bakers coax dough to rise with just the right amount of yeast and heat, and a measure of agitation to provide a gluten structure that can withstand a bit of stretchings. They wait until the dough has reached just the right amount of loftiness — and not too long, so it won’t collapse– and then bake it to solidify those glutinous structures like the vaulted arches of a Gothic cathedral in tiny, edible miniature. Is bread really a micromonument of the human drive to build? Maybe that’s just me waxing poetic about gluten.
Learning to “Feel” the Bread
Tactile things are really hard to learn from a book. Learning to use cues like the windowpane test and taking the temperature of the dough periodically help give quantifiable benchmarks to gauge how long to knead the dough. But a big part of it is just learning what “done” feels like at different stages. Ultimately, you just have to get comfortable with different textures and consistencies, and understand that every recipe (in fact, every batch) will probably end up having its own quirks and eccentricities.

Timing is Important
Yeast waits for no baker, so it’s important to let it have its way and accommodate the whims of the dough. It can be easy to get excited or impatient and try to rush the process, but ultimately the dough will rise at the rate it rises. For a complex rising schedule, I like to go backwards from the time I want the bread to be done and figure out when to start each stage. As much as patience is key for a good rise, being quick and confident when it comes to shaping and slicing loaves and transferring them to the oven is also important.

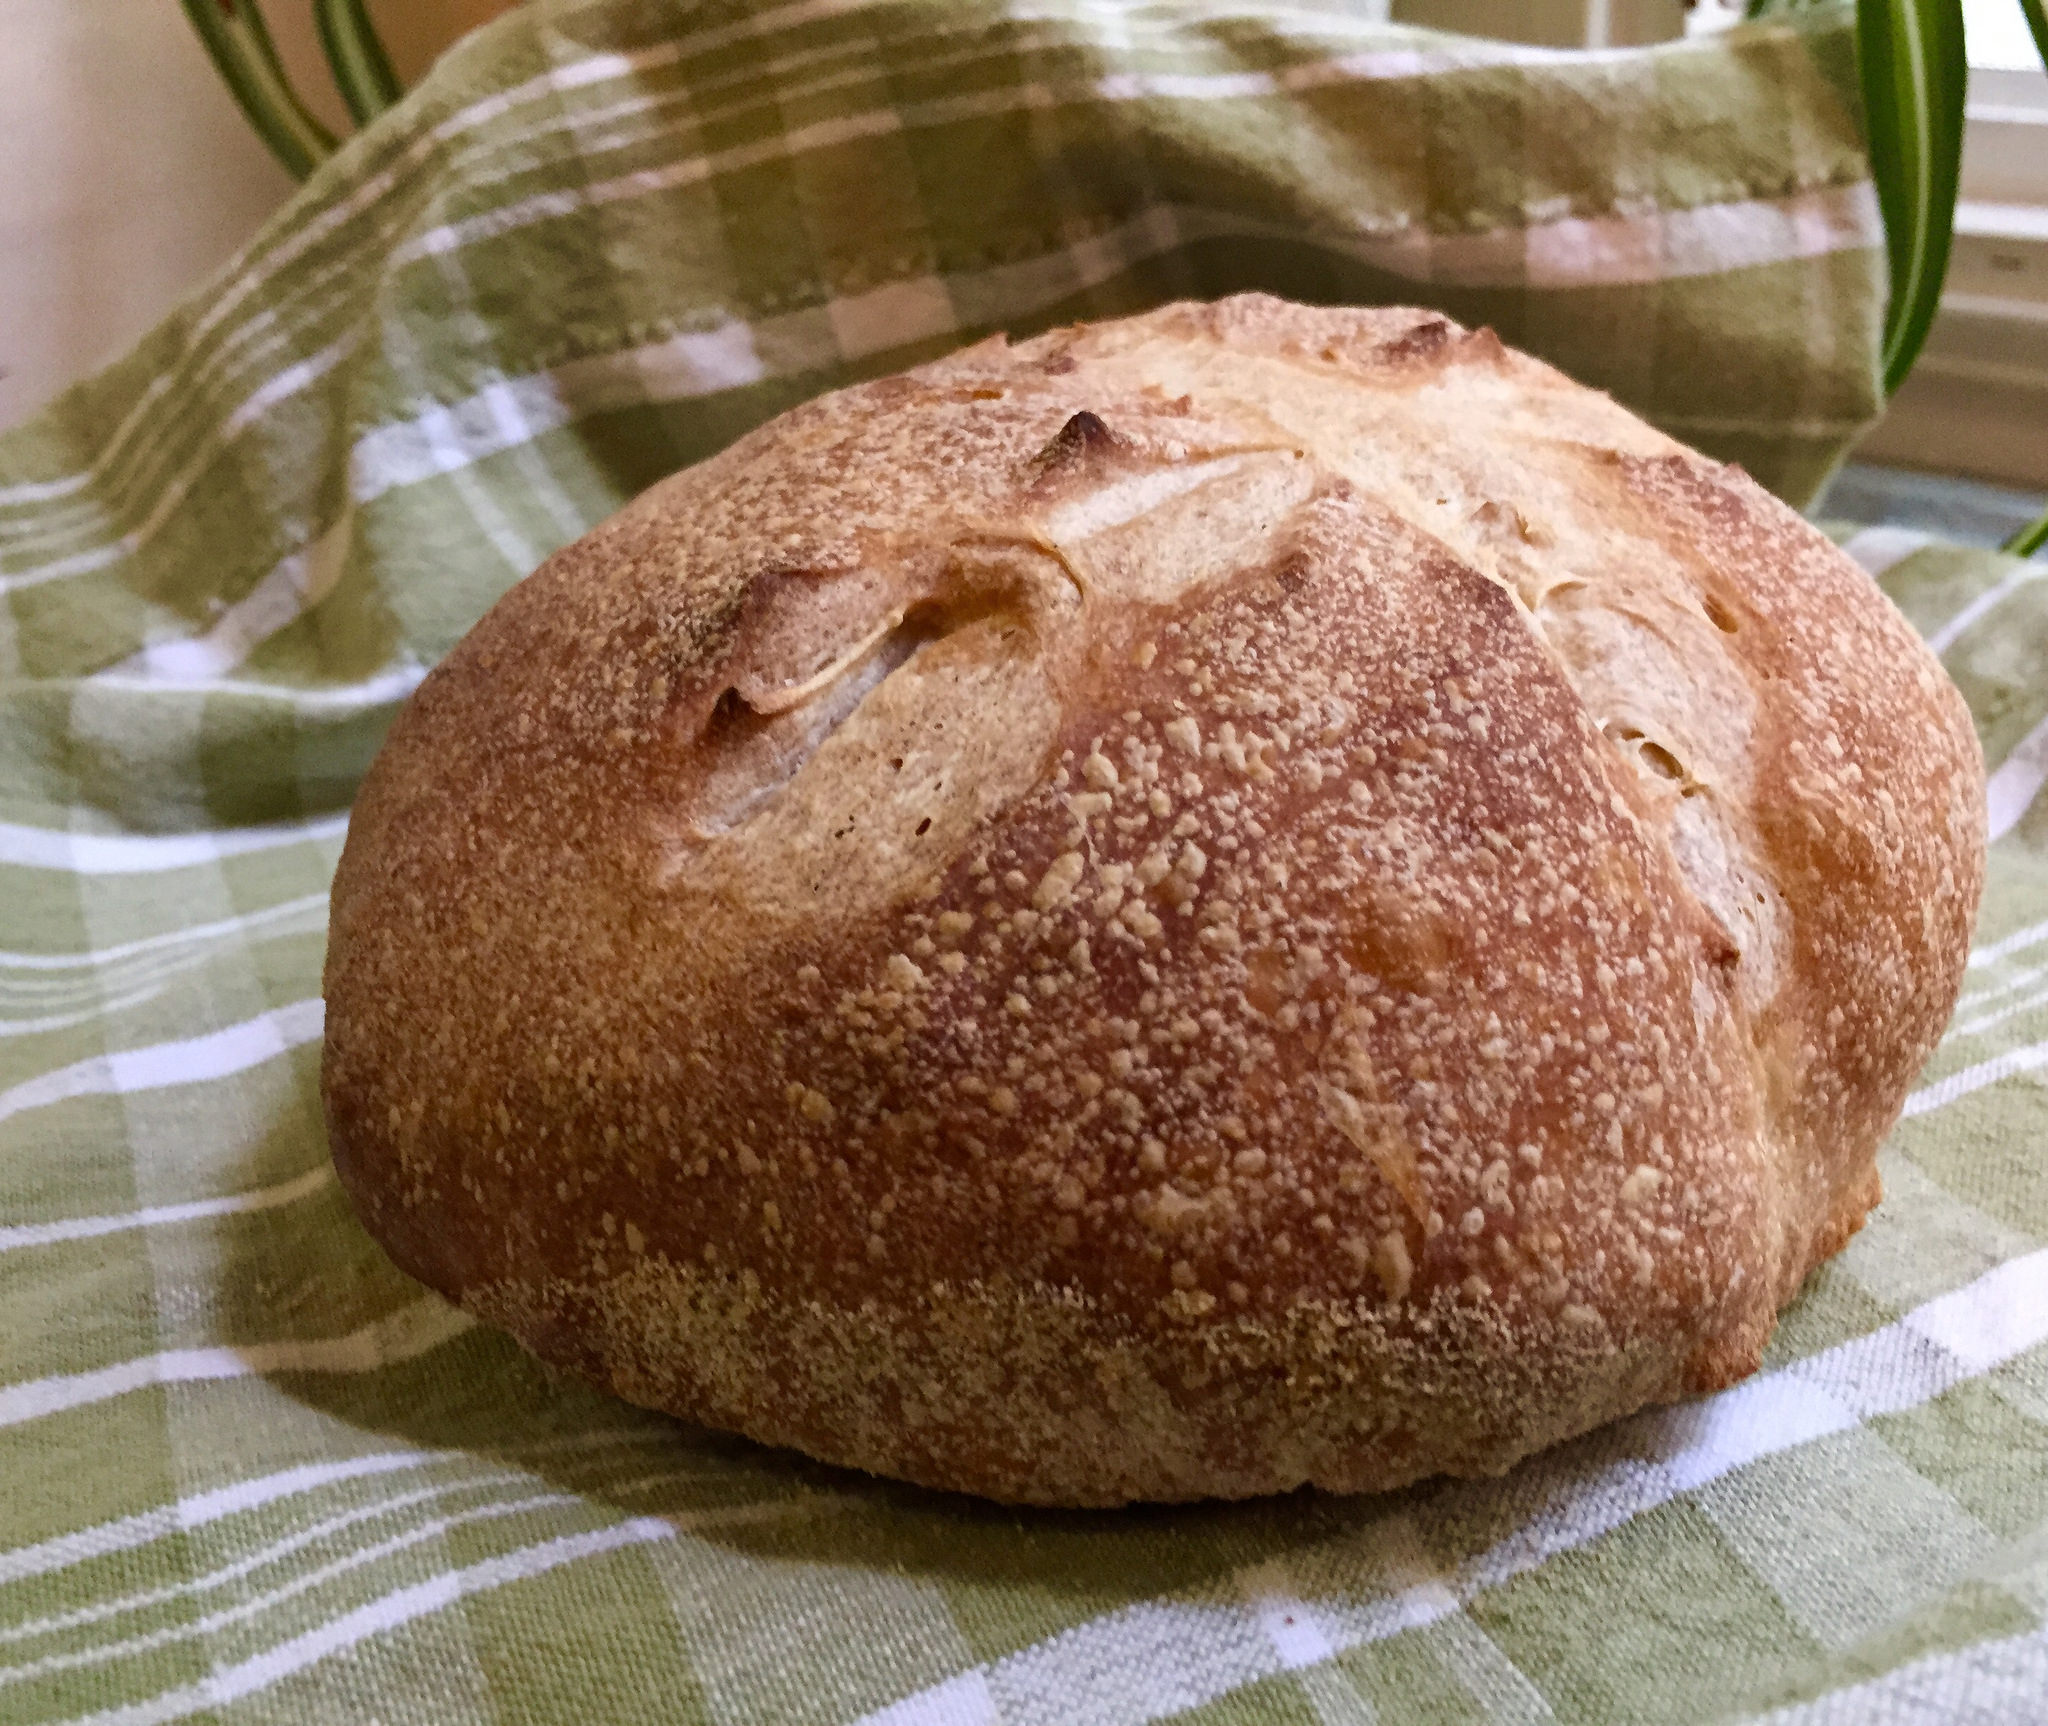
I haven’t tweaked Reinhart’s recipe for French bread much at all, apart from shaping it into boules (round loaves) rather than the suggested baguettes. As you can see above, I got a nice, crusty exterior this time around, and a passably “holey” crumb. This is an extremely lean bread (no fat at all in the dough), so it’s best consumed within a day of baking. Fortunately, it’s great by itself, with a smear of butter or for sopping up pasta sauce, so it isn’t hard to eat it quickly.
Peter Reinhart’s French Bread Recipe
Taken from The Bread Baker’s Apprentice, Yields 3 small baguettes, 2 medium round loaves, or an indeterminate number of other shapes.
Ingredients
Pâte Fermentée:
- 5 ounces bread flour
- 5 ounces AP flour
- 3/4 tsp salt
- 1/2 tsp instant yeast
- 3/4 cup water, room temperature
French Bread:
- 16 ounces pâte fermentée (see above)
- 5 ounces bread flour
- 5 ounces AP flour
- 3/4 tsp salt
- 1/2 tsp instant yeast
- 3/4 cup water, lukewarm (90-100°F)
- To make pâte fermentée: The night before or up to 3 days before you want to make the dough, mix flour, salt and yeast in a large mixing bowl. Add water and mix until ingredients form a ball. Add a few tablespoons more water if necessary; erring on the wetter side as it’s easier to firm up a dough than it is to add water once you start kneading. Turn dough out onto a floured counter and knead for 5-6 minutes, adding flour as necessary. The dough should be pliable and feel tacky, but not sticky.
- Place the dough in a lightly oiled bowl and cover, then let sit at room temperature for about an hour. The dough should swell significantly but won’t quite double. Knead dough lightly to degas, then re-cover and place in refrigerator until ready to make French Bread dough.
- To make french bread dough: Remove pâte from the refrigerator at least an hour before to dechill; cutting it up into 8 or so pieces helps speed this process. Mix flour, salt, yeast in a bowl, then add pâte fermentée pieces. Begin to knead the pâte fermentée pieces into the flour (it won’t work well), then add water and continue mixing until the dough comes together. Add extra water if necessary.
- Turn dough out onto a floured counter and knead for about 10 minutes. The pâte fermentée pieces should be entirely incorporated with the “new” dough. The dough should pass the windowpane test and register about 77-81°F.
- Shape the dough into a smooth ball and place in a lightly oiled bowl. Cover and let rise for 2 hours, or until the dough has doubled in bulk.
- Shaping the loaves: Turn the proofed dough onto a floured counter. Being careful to degas the dough as little as possible, use a pastry cutter or sharp knife to divide the dough into two or three pieces, depending on how many loaves you are making. I simply made round boules — check out the man himself, Peter Reinhart, shaping loaves on YouTube for a more in-depth tutorial.
- Let the loaves rest for at least 45 minutes, or until 1.5x starting size.
- Baking the loaves: Preheat oven to 500°F. If you’re using a baking stone (I use one by Old Stone Oven and I love it, but they’re entirely necessary), place the stone on the center rack before you turn the oven on. Place a metal or cast iron (not glass) pan in the bottom of the oven now, regardless of whether you’re using a stone or not; this will be your steam pan. A few minutes before you’re ready to bake the bread, heat up about half a cup of water — it doesn’t have to be boiling, but very hot is best.
- If using the baking stone, liberally dust a cutting board or pizza peel with semolina flour or cornmeal. Carefully transfer one of the loaves to the peel, then slide it into the preheated oven. Repeat for remaining loaves, then pour the hot half cup of water into the steam pan and shut the oven. After 30 seconds, open the door and mist the walls of the oven with water (or sprinkle some in with your hand). Repeat twice more, then turn the oven down to 450°F. If the whole misting process is too much fuss for you, you can skip it. It makes a difference in the crust’s texture, but it won’t ruin the bread if you don’t do it.
- Bake for 10 minutes, then rotate the loaves 180° for even baking. Bake for another 10-15 minutes, then remove and place loaves on a cooling rack. The finished loaves should be golden brown and will sound hollow when tapped on the bottom.
- Let rest for at least an hour before slicing and consuming.

