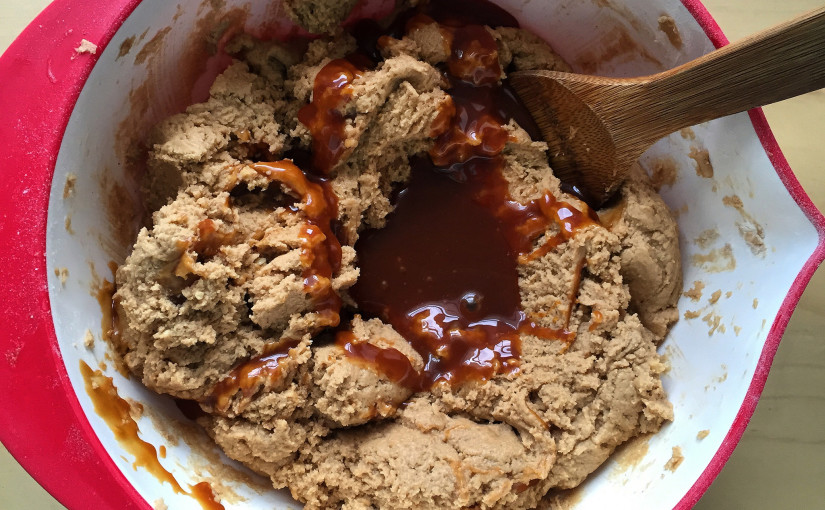
peanut butter cookies

Teach Others to Cook to Improve Your Own Cooking Skills

Here’s a piece of advice that holds true across many fields: if you want to test your knowledge of a subject or concept, try explaining it to someone else. Even if you’re not a pro chef, you can learn a lot about cooking from teaching other people how to cook. Before you start inviting friends over to show off your cooking chops, make sure you go in with a game plan. Here are a couple tips on getting the most out of your cooking lesson to help set you and your kitchen padawan on the road to cooking Jedi masters.

1. Include Shopping in Your Lesson

When Bon Appétit Magazine hosted the fantastic Ina Garten on their podcast, they asked her about developing recipes for inexperienced chefs. Ina mentioned that she likes to give new recipes to a friend, and then observes them as they prepare the dish. This includes watching them hunt down ingredients in a grocery store to see where they might stumble — do they pick up dried basil instead of fresh, or struggle to choose between garlic powder and garlic salt? From there, Ina edits her recipes to make them as clear and easy to follow as possible, even for inexperienced chefs.

Shopping can be either one of the most fun or the most frustrating part about learning to cook. Getting home with a bagful of groceries just to realize that you bought the wrong ingredient can be disheartening. Shopping with your cooking buddy is a great test of how well you really know your ingredients. Taking a trip to the store before you cook with someone else can force you to think about questions like “Can you substitute anchovies for sardines?” and “How do you know if this avocado is ripe?”  Shopping together also helps to ensure that your student will be able to replicate the dish on their own.

2. Allow Extra Prep Time for New Techniques

Not everyone cooks at the same pace. Someone who doesn’t cook frequently is likely to move a little slower with a chef’s knife than someone who chops vegetables on a daily basis. Dishes that require ingredients to be added in a certain order or at a certain time can easily fall off track if your assistant is only halfway through dicing their first carrot when the pan is hot and ready. Make sure that you give yourself and your student a little extra time for learning the nuts and bolts of the cooking process.

Prep time is also great moment to practice (and teach) the concept of mise en place — preparing and setting out all of your ingredients before you helps prevent those “wait, wait, I’m not ready!” moments when the pan’s over the flame and the onions are starting to burn.

3. Assign Specific Tasks

It’s easy to end up doing everything yourself if you’re used to cooking alone. By giving your cooking partner specific tasks to execute, you can make sure you don’t end up doing all the work yourself. Keep in mind that you want those tasks to help them learn how to make the dish, so try not to relegate them to dish washing duty if they’ve never chopped an onion or cleaned a chicken before.

Explain how to perform the best techniques and processes as you go, especially if your cooking buddy is an inexperienced cook. You’ll both get much more out of the lesson if you’re practicing good habits as you go, instead of trying to correct them later.

4. Simplify and Clarify Instructions

It’s a quirk of practically every hobby and industry — insiders develop a language specific to their niche. When that happens, it can be easy to forget how to speak in more generalized terms about that subject. If your student is unfamiliar with the language of cooking, even relatively simple terms like mincing and dicing might be confusing. Don’t avoid using cooking jargon, but make sure that you’re being clear about what the terms you’re using actually mean. Encourage your student to ask questions and speak up if they get confused.

Another important factor in making cooking clearer is explaining why you do what you do. If you’re cutting all the ingredients of a stir fry into small cubes so they’ll cook more evenly, that’s a valuable piece of information to give your student. Understanding not just how to do something but why to do it is incredibly empowering in the kitchen.

5. Identify Your Own Knowledge Gaps

As you cook, you’ll inevitably be asked questions. You’ll be able to answer some of these questions easily. Some might leave you reaching for your phone for a quick Google search (or reaching for your favorite cookbook). These are great moments to assess what you still need to learn yourself. Make sure that after you’re finished with your lesson, you circle back on your own and figure out ways to improve your own skills and knowledge base.

Most importantly, remember to have fun! Teaching someone to cook is as much about introducing them to how much fun it can be to cook as it is about teaching them how to make food. Once you’re finished cooking, be sure to open a bottle of wine, sit down, and enjoy the fruits (and vegetables) of your labor together– before you start washing all those dishes.

 

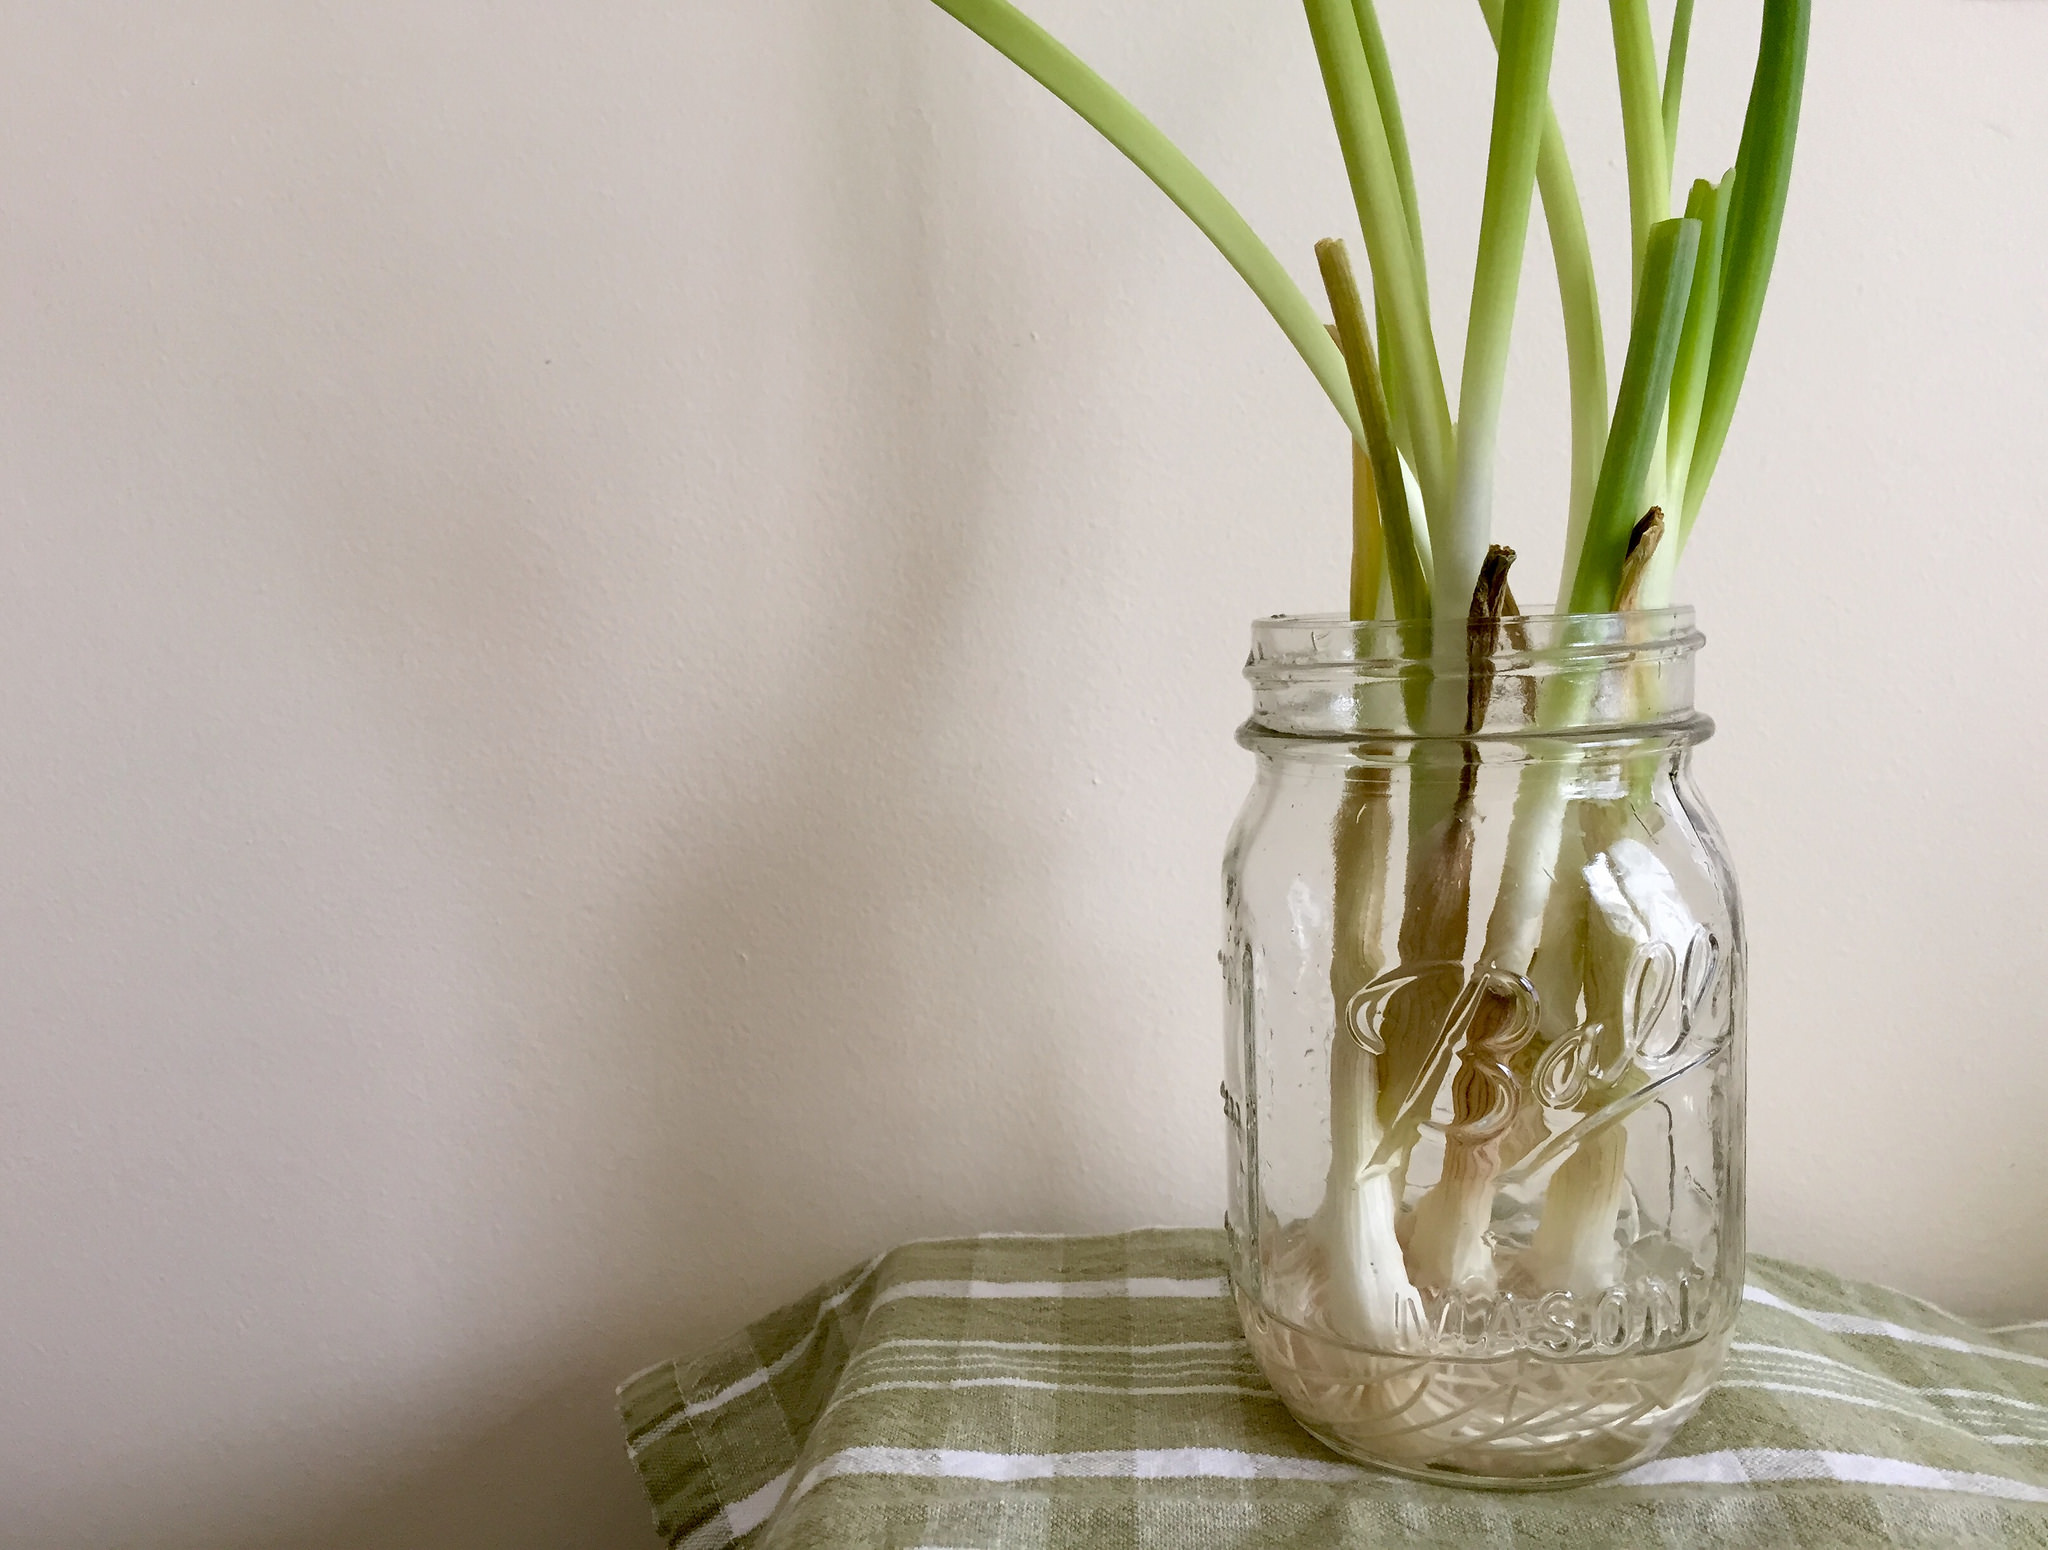
green onions in jar

Minimizing Kitchen Waste

Minimizing kitchen waste is a challenge in many homes. Up to 40% of food in America is thrown away instead of being eaten. Keeping a well-stocked fridge and pantry often leads to extra food, and extra food and leftovers can easily go bad. For fledgling cooks who are still getting the hang of shopping for and preparing food regularly, learning how much to buy, prepare, and cook can end up wasting a lot of otherwise edible food. Whether you’re concerned with saving money or reducing your kitchen footprint, there are a few easy ways to help minimize kitchen waste when you cook and make your kitchen more efficient. waste minimizing grocery list

Shop with a Menu in Mind

Most people use one of two approaches when they go to the grocery store. They buy food without any real scheme for preparing it, picking up a few portions of protein, bundles of vegetables, and bags of pasta and grains. Others go in armed with specific recipes they want to make and grab one of every item on the ingredients lists. These shoppers might end up buying too much of one thing, or picking up a duplicate of something they already have at home.  Next time you go to the store, think about what you’re planning on cooking for the next few days. Take a peek in the fridge to make sure you don’t end up buying something you already have on the shelf. Buy each item with a purpose (or a few purposes) in mind, and try to match the amount you buy to the amount you need.

Have extra stuff hanging out in the fridge from your last trip to the store? A quick search on your favorite recipe site can help you figure out what to do with that last half of an onion or a single sausage. I’ve recently started using Handpick, an app that lets you pick the ingredients you have and helps you find popular recipes to use them up. It’s a great tool for finding new ways to pair multiple ingredients and stretch your cooking creativity.

spice jars

Buy What You’ll Use and Store Ingredients Correctly

Sometimes it can be hard to tell how much of an ingredient you’ll actually use, so if you’re buying a new or unusual ingredient, try to buy only as much as the recipe calls for. If possible, buy ingredients from a grocery store that offers bulk spices and dry goods. Just because they’re called bulk containers doesn’t mean you have to buy a lot of each thing– these goods are sold by weight, so you can buy just a few ounces of a new spice, or pounds and pounds of your preferred type of rice.  It’s a great way get to exactly the amount you need and can prevent overspending. Buying “in bulk” is especially valuable when it comes to new or infrequently used ingredients, and helps minimize the amount of food that you end up throwing away.

When you get home from shopping, store your ingredients in ways that help extend their life to make sure that they don’t go bad before you get around to cooking them. Dry goods keep better when stored in airtight containers, and many vegetables will last longer when kept in a cool, dry place. There are countless great storage hacks out there to help keep different ingredients in good shape, from keeping green onions fresh by setting their roots in water to wrapping hard cheese in parchment paper to prevent mold growth.

Learn to Trim Food More Efficiently

When I first moved to San Francisco, I lived near an Asian grocery store that had a veritable menagerie of edible fish, fowl and mammal meats for sale. One day I saw cow tongue among the chicken hearts and pig trotters. Knowing that I loved lengua tacos back in LA, I decided to try preparing some myself. I went to the store, bought an alien-looking, vacuum-packed cow tongue, and went home to get started. And then everything went wrong. The recipe I found suggested peeling off the tough outer casing and thinly slicing the meat before searing it. The tongue was slick and slippery, and the outermost layer didn’t “peel right off” as the recipe had promised. I had to cut it off, slippery piece by slippery piece, sacrificing at least a third of the edible meat as I went. My small, embarrassingly dull knife could barely cut through the meat to slice it into thin strips. By the time I was ready to start cooking the meat, most of it was sitting in a pile of discarded scraps. That night we ate tofu for dinner, and I learned a huge lesson about the importance of having the right gear and skills in the kitchen.

Use the appropriate tools and learn how to cut different foods properly to minimize what you throw away. There are plenty of great guides on the web teach yourself how to trim a piece of meat, and knowing how to cut excess fat off a steak or break apart a whole chicken are great skills to learn. A sharp knife makes more precise cuts than a dull one, so you’re less likely to make mistakes. Have simple but effective tools, can also help you get the most out of your ingredients; for example, a citrus reamer can help you squeeze a few more teaspoons of juice out of a lemon, and a vegetable peeler helps prevent you from accidentally slicing off too much when you’re peeling potatoes. Another part of learning how to cut things is learning what’s edible and what’s not. The greens of many vegetables — beets, for example — can be cooked and eaten just like chard, and the fat and bones from meat can make great additions to homemade soups.

waste bowl

Use a Mise en Place and a Waste Bowl 

Using a mise en place system helps you be more mindful of your ingredients while you’re cooking. By taking the time to cut up everything ahead of time, you can ensure that you’ve prepared your ingredients correctly, and that you didn’t forget anything. Consolidate the scraps you do create when you’re cooking into a trash bowl. You don’t need a special container for this–I usually use a small mixing bowl or an empty plastic bag. As an added bonus, this makes cleaning up when you’re done cooking a lot quicker and easier.

If you’re looking to up your waste minimization game even more, have a designated scrap bowl for building a stock bag. Keep things like carrot tops and onion skins, and even fatty trimmings to help beef up (sometimes literally) the flavor of your soups and stocks. Scraps can be stored in a Ziploc in the freezer until you’ve accumulated enough to fill your stock pot.

Find Smart Ways to Use Leftovers

All those Tupperware and takeout containers in the fridge can end up being your own personal mold farm if you’re not careful. Keep an inventory of your leftovers and make an effort to eat them before they start getting fuzzy. I have a whiteboard on the outside of the fridge to remind myself what I still need to eat. Being mindful of your leftovers is the biggest step you can take in ensuring that they get eaten instead of tossed.

Try to incorporate leftovers into new meals, too. A bit of leftover chicken breast can be cubed and thrown into a salad. Bread that’s gone a little too stale to make toast can be pulsed in the blender to make breadcrumbs.  The last scoop of yogurt in a tub can give a marinade a tangy bite. There are very few foods that won’t last a day or two in the fridge, and many can easily be reinvented as a new dish.

salad with leftover chicken

The Big Picture: Minimize Kitchen Waste by Planning Ahead

Perhaps surprisingly, reducing the amount of food (and food packaging) you throw away can take a little bit of practice. But with a little foresight and planning you can train yourself to use better kitchen waste management techniques relatively quickly. It’s a simple way to make you kitchen a little tidier and more effective, and can end up saving you money and time (fewer shopping trips!) in the long run.


On Keeping a Cooking Journal

Follow my blog with Bloglovin

Keeping a cooking journal is a small but effective technique for improving your cooking practice. I’ve only started doing in the past year, but since I started I’ve found myself wishing I had begun years ago. It’s something I highly suggest that other home chefs do too because it can have a big positive impact on the learning process.

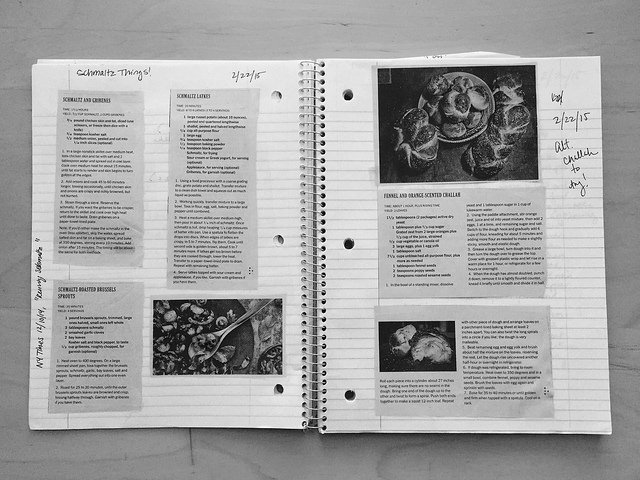
cooking journal with recipe

Why a Cooking Journal is Important

A cooking journal is simply a place for you to take notes about your cooking projects. And just like in school, the notes you take about cooking help you process and retain a lot more information than you would otherwise. As you cook more frequently, you likely find yourself pulling recipes from many different sources. You’ll probably mix together elements of different recipes to make your own version. You might even strike out and play with original concoctions. And when you do make that perfect pancake, or discover your new twist on an old childhood favorite, you’ll want to make sure that you can replicate it. Taking notes on where you find your inspiration, how you tweak recipes and what you liked (or disliked) about a dish helps ensure that good cooking isn’t a lucky chance, but a measured process that you can recreate next time. Keeping a cooking journal will save you time and energy down the line by helping to focus your cooking process and make you more conscious of past successes and failures.

How to Use a Cooking Journal

Get a cheap spiral notebook and leave it in your kitchen, or use an app like Evernote if you want to keep things digital. Don’t worry too much about using something too fancy or complicated; function is much more important than form in this case. If you’re using a paper notebook, it’s likely that at some point it’ll end up with a dusting of flour or a few rogue drops of olive oil on the cover, anyway.

cooking journal harissa

Write down what you cook– everything you cook. If possible, jot down notes as you go, or soon after you’re finished and your memory is fresh.

If you’re the organized type, it can be helpful to provide a bit of structure to your journal. If you’re using a notetaking app you might want to sort it into folders for different categories of dishes (meat, desserts, veggies, etc). If you’re using a hardcopy journal you can use Post-it notes to color code important pages.

What Do I Include in my Journal?

Just like a regular journal, you can put whatever you want into a cooking journal. If you want to draw diagrams of how to chop an onion, compose odes to the perfect cheeseburger, or write down the precise temperature and weight of every ingredient you use, you can. Sometimes I’ll even cut out and tape in recipes I find in magazines or the newspaper and want to try. Other times I’ll just write a few notes about ideas for different flavor combos for my next batch of cupcakes.

The key thing to remember is that the purpose of the journal is to help you improve in the future, so try to include notes that will help you the next time you make a dish. When you’re experimenting with a new mix of spices, keep track of what you’re putting in the mix so you can replicate or improve it the next time around. When you’re trying a new technique, write down what you did, where you messed up, and how you can do it better.

cooking journal two pages

The Secret to Good Journaling: Going Back!

The most important part of keeping a cooking journal is going back and reviewing what you’ve written. When you’re preparing to make a dish that you’ve already made before, refer to the notes you took the first time. Try to improve your process slightly (or significantly). Going back and making recipes again is a critical part of improving your skills, and having notes from the last time you made something is a great way to jump start your efforts.

It’s also fun to take time, every once in a while, to go back and flip through the early pages of your cooking journal. Looking back can help you realize how far you come, and help motivate you to be even more adventurous in the future. Happy journaling!

Kitchen Minimalism: How to Cultivate a More Minimalist Cooking Mindset

Right now there’s a very popular design trend towards minimalism, both online and offline. Designers and consumers are embracing clear, open spaces and light, neutral palettes. But instead of talking about how you should have a clean, streamlined-looking kitchen, I want to focus on the idea of cultivating a minimalist mindset in the kitchen.

By its nature, cooking is not a terribly minimalist endeavor. Even the most basic kitchen is likely to have a few dozen tools, serviceware and miscellaneous gadgets lying around– not to mention a vast and ever-changing stock of ingredients. But that doesn’t mean that the concept of minimalism doesn’t have a place in your kitchen. Kitchen minimalism should be more about what’s inside yours cupboard than what they look like, and more about action than aesthetic. It’s about cultivating a collection of cooking gear that you actually use, and creating an uncluttered flow for your cooking practice. Here are 5 ways to start bringing minimalist ideas into your kitchen.

Apex Modern Kitchen

1. Omit Needless Gear

The next time you watch a cooking show or get a sneak peek inside a chef’s kitchen, take note of the tools they use. Pro chefs generally don’t use a ton of gadgets and specialized gizmos to make great dishes. They rely on great technique and skills to do things the old-fashioned way. As a rule of thumb, try to steer clear from uni-tasking tools; they’re often bulky, hard to clean or let you cheat at actually learning good practices. Instead, focus on learning how to use basic tools better– knife skills and a few good pots and pans can take you a lot farther than a Slap Chop and a corn kerneler.

The core concept of minimalism is reducing a subject to its necessary elements. A kitchen reduced to its necessary elements is a kitchen where food, not the tools by which it is made, takes the focus.

When you build out your kitchen wishlist, focus on tools that help you make the dishes that fit your cooking style and needs. The ideal kitchen roll-call is going to look different for everyone — just because I use a wok all the time doesn’t mean you need one, and just because I don’t think a KitchenAid mixer is a necessity doesn’t mean you should toss yours. For a good list of basics, check out Tim Ferriss’ The 4-Hour Chef — he offers a great list of foundational pieces that I (mostly) agree with. The point is to curate your kitchen artillery to suit your needs; if you buy something and it’s a flop, it’s okay to let it go instead of saving it just in case. Keep only what you really need, and what you use often. If only I could apply this to my bookshelf…New Font: René Menue Symbols

2. Rotate Your Stock

Another source of mental and physical clutter in the kitchen is holding onto ingredients that get used once, then never see the light of day again. Since most things do eventually go bad or lose their luster, it’s good to do a periodic purge of your spices and sauces to keep things fresh. If you can’t bear to toss that turmeric, then use that time to hunt down some new recipes and expand your repertoire to use it up. Otherwise, hold a spice swap with a couple friends and go grocery shopping in each other’s cupboards. Moving forward, buy ingredients more intentionally to help keep edible clutter at bay.

3. Maintain a Clean Workspace

People tend to leave their appliances out on the counter, but if at all possible, try to cut down on your countertop clutter. Your counter should be like an artist’s palette: clear and ready to hold your working materials (ingredients and gear) during cooking, but not store them all the time. The more counter space you have, the less likely you are to spill, fumble, or forget something in the heat of the culinary moment.

While you’re cooking, practice keeping your workspace tight and organized. Use a trash bowl to consolidate peels and wrappers, set up your mise en place neatly, and generally try to keep things clean as you go. An orderly kitchen helps eliminate distraction and lets you focus on the task you’re working on, instead of thinking —  I really should find a place to that blender/clean the toaster/sort the mail.

mise-en-place

4. Create “Cupboard Whitespace”

This one is tricky because it actually requires is having less stuff (or more storage space). People tend to collect stuff to fill the space they have available, so chances are you’ve got more stuff than you need lurking on the shelves. Try to leave some breathing room in your cupboards and fridge. Having a little extra space makes finding things easier, and it minimizes the chance you’ll accidentally knock something over and break or spill it. Just because you can close all the drawers and cupboards and make your kitchen look neat, surface-level organization means little if there’s a storm of jumbled gadgetry hidden just out of sight.

5. Embrace Minimialism, But Keep (and Use!) What You Love

Your kitchen is a reflection of your cooking style, and oftentimes your personality. If you love your “World’s Greatest Intern” self-heating coffee mug, don’t get rid of it. Keep the things you use, and the things that bring you joy. Sure you might only pull out the waffle iron on special occasions, but if that’s your very favorite cooking object, keep it around. Better yet, identify the things you love in your kitchen and find ways to use them more frequently– maybe that novelty waffle iron could make a substitute panini press, or a hash brown-crisper.

keyboardwaffle

While true minimalism values stripping away the excess as much as possible, it’s important to remember that it has its roots as an aesthetic choice, not a culinary one. Getting rid of things for the sake of getting rid of things isn’t always the best way to approach cooking. Ultimately, minimalist cooking at home isn’t about having your kitchen look a certain way, or depriving yourself of stuff that you need. It’s about pushing yourself to think and work creatively, and to master the basics instead of getting caught up in the latest gadgetry.


Photo Credits
Featured Image: Steve Larkin via Flickr
Kitchen icons “René Menue Symbols” via Flickr
“Mise en place” by Jules Morgan via Wikimedia
Keyboard Waffle by KeyboardWaffleIron.com

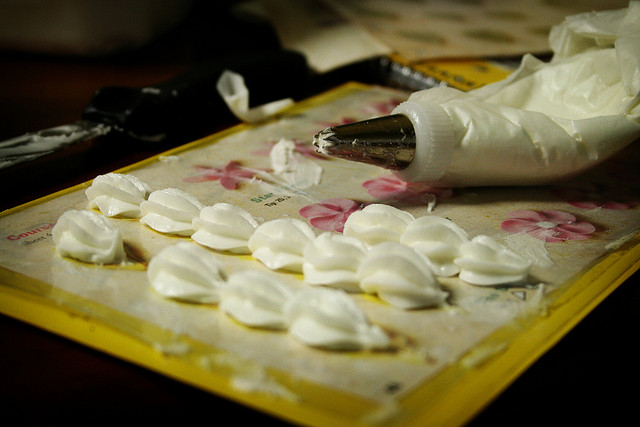
"Icing Practice" by Ginnerobot via Flickr

The Importance of Smart Practice: When Practice Doesn’t Make Perfect

Back in January, I decided to jump start my blogging and hone my kitchen skills by baking my way through Peter Reinhart’s The Bread Baker’s ApprenticeI’ve been baking bread for a long time now. Back in college my diet consisted of more peanut butter sandwiches on homemade bread than I care to remember. I love fresh, warm bread and one of my favorite childhood memories was baking big, brick-shaped loaves in a bread maker in my parents’ kitchen. The basic concept of measuring ingredients, kneading dough, then shaping and baking it isn’t a new one for me. But up until lately, my bread-making skills had been stagnant for a long time. Sure, I’ve baked a lot of loaves, but for a while noticed that my bread kept turning out more or less the same, and I didn’t see any progress towards the bakery-level quality I would like to achieve. I was practicing a lot, but I wasn’t getting any better.

Starting a weekly bread baking practice has improved my baking skills by leaps and bounds in the past few months. And while the frequency with which I bake has certainly been a factor in my improvement, there’s a more critical reason that my bread quality has improved so much lately: I’ve been practicing smarter.

A Study in Ciabatta: Why Practicing Well is Critical

I’ll admit that I’ve been baking most of Reinhart’s recipes only once each this year. While I plan to circle back to remake many of my favorites, blogging about the same recipe week in and week out would get tedious, and I’d prefer test my skills in lots of different ways this year. I also don’t want my roommates to hold a carb intervention after I serve up the same loaf of bread the 30th week in a row.

Ciabatta has been one notable exception, and it’s the perfect example of what good practice looks like. The first time I baked ciabatta, I made two loaves — one spiked with mushrooms, the other plain — and wrote a post about it. Reinhart’s ciabatta recipe is simple formula that relies on good ingredients and confident dough-handling to make a great loaf. I thought my first loaves turned out pretty well. They were soft and tasty. But they weren’t quite like the ciabatta I knew from bakeries. Check out the crumb texture here:

ciabatta crumb

There aren’t any big holes! One of the trademarks of traditional ciabatta is an open, holey texture. My bread was delicious, and would have made a great sandwich bread or burger bun, but it wasn’t quite what I had aimed for.

Trying Again: Identifying Weak Points

After my first attempt, I reviewed the recipe (Reinhart includes fantastic baking notes in his books, I’m just too much of a scrub to internalize them very well the first time around) and compared it to a few more ciabatta recipes online. A tight crumb was my main problem. I determined that I was either deflating my dough too much and pushing the air bubbles out during the shaping, or adding too much flour and making the dough too dense and stiff to develop proper bubbles in the first place. You can see how dry my first batch of dough looked:

ciabatta - folded

Notes on my shortcomings duly made, I knew what to try harder at during my next attempt. The week after I made my first ciabatta, I made another batch for a small dinner party that I cooked for. This time I tried to correct for the tight crumb of my first loaf by keeping the dough wetter during proofing. Dry dough is easier to handle, so it’s tempting to overflour and make kneading and shaping easier. I had to actively resist the temptation to do so this time. And as a result, ciabatta #2 had a much better texture in the end. Compare this wetter dough to the one above:

wet ciabatta dough

The resulting loaf was better, but still not perfect — it had more holes, but was a little too dense. I was still overhandling the dough while I was shaping it. But this was a good thing! I had correctly identified my main problems and was making progress towards correcting them. Most importantly, I knew what to do to make my bread even better.

And Again: Mastering the Technique

I had friends over for dinner a few weeks later and decided to make the ciabatta one more time. This time I let the dough stay very wet and loose. I was also extremely careful not to deflate the dough whenever I was handling it.  It was a messy, sticky ordeal, but the results were worth a bit of frustration. Finally, my bread was full of nice, big pockets!

ciabatta with holes

Cooking Beyond Your Comfort Zone

The next time I make ciabatta, I’ll keep what I’ve learned in mind and be able to replicate or even improve my last results. The biggest lesson I learned during this exercise was that I need to stop trying to confine new recipes to my cooking comfort zone. I’m more accustomed to working with stiffer, drier bread dough, so I tried to force the ciabatta dough to conform to my preferences instead of the other way around.

Let yourself be uncomfortable with your cooking endeavors. Put your faith in trustworthy recipes and tried-and-true techniques. Add a bit more butter than you think you should if your dish is turning out too dry, or throw in a little “too much” spice if it doesn’t have enough flavor.  Push each iteration of your new favorite recipe to be better than the last. Be patient, taste often, and don’t be afraid of messing up — that’s how you figure out how to make it better the next time around.

How to Practice Smarter Cooking

Practicing the same recipes over and over with the explicit intention to improve your results each time helps improve your cooking repertoire rather than just expand it. Having a library of recipes and techniques you can prepare confidently and consistently helps you gauge your progress in a measurable way, and allows you to see how all of those techniques you’ve mastered fit together into a variety of different dishes. Plus, once you’ve gotten tweaked and tested a couple of recipes to perfection, you can make them without a lot of thought, which lets you play around with variations and have more fun with them.

To get started, find three dishes that you love and resolve to cook each of them at least five times. Every time you make the dish, think about (or even better: write down) what you did well and what you could have done better. Did it look the way you expected it to look? Did it taste different from what you anticipated? The next time you make it, actively try to address at least one problem you’re having with the dish. Bit by bit, each dish will get better every time.


Featured photo by Ginnerobot via Flickr