Peanut Butter Brownies

It’s Saturday night in San Francisco, and while some of our friends are out pregaming before a Gold Room concert, I’m at home playing a board game. What I lack for competitive spirit on game nights I make up for in baked goods provided over the course of the evening. Sometimes I even score a come-from-behind victory by plotting my win while baking cookies. Shhh.

Tonight I’m pairing settlers of Catan with an improvised recipe for peanut butter brownies. I have yet to hear any complaints.

OLYMPUS DIGITAL CAMERA

I’ve been looking for a low-fuss peanut butter brownie recipe but none of the ones I’ve seen lately look quite right. So I pulled a basic brownie recipe from smitten kitchen and an old stuffed peanut butter cookie filling  recipe that I’ve had for a while (gotta make those again sometime).

Brownie Batter

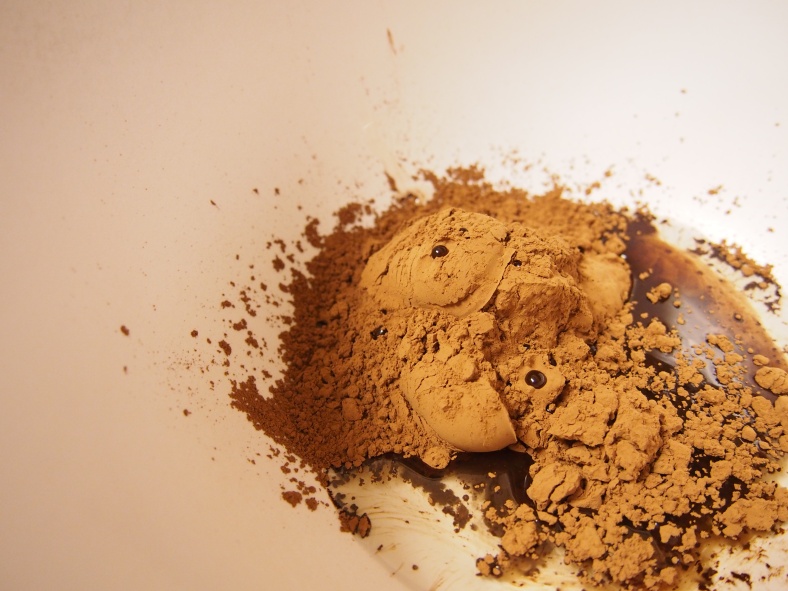
I never have any baking chocolate on-hand. I always have cocoa powder. You can easily sub cocoa powder for baking chocolate by combining 3 tbsp cocoa powder and 1 tbsp oil (vegetable or an otherwise neutral oil) for every 1 oz of baking chocolate called for. Easy peasy. Take a moment to admire the cool-ass beads of chocolate oil that form on your cocoa mountain.

OLYMPUS DIGITAL CAMERA

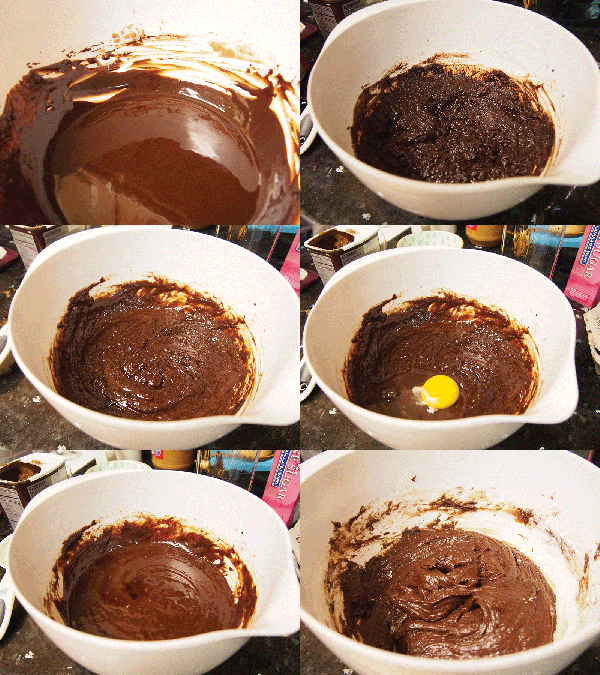
This is a pretty straightforward one bowl recipe; just go down the list mixing in 1 ingredient after the next and stirring until just combined each time.

brownie-mix

For the flour I switched from whisk to spatula and folded it in gently (although brownie batter is pretty tough, so it doesn’t have to be handled as delicately as, say, biscuit dough). Pour it into a buttered pan and set aside. Side note: it’s going to be pretty thick, so it might not spread super easily.

Peanut Butter Topping

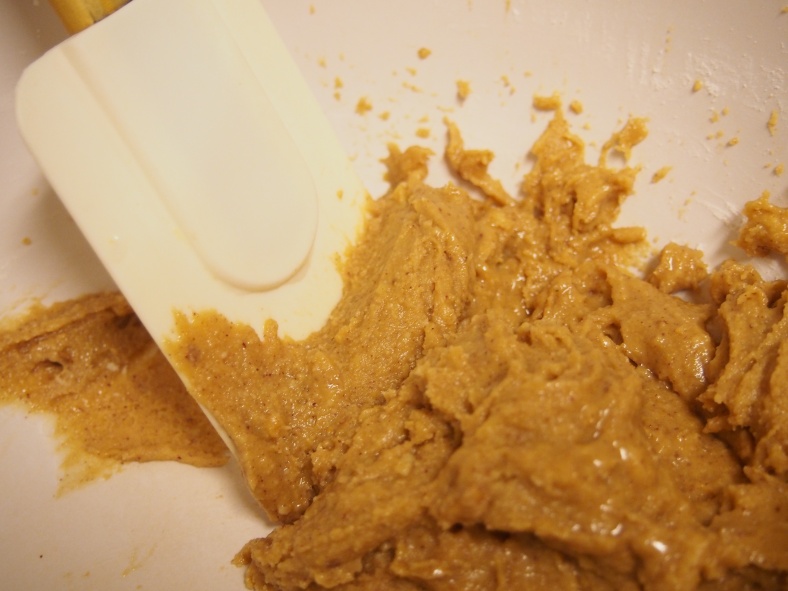
You know what sucks? Separated peanut butter. You know what sucks more? Costco-sized jars of separated peanut butter because oh my GOD you cannot recombine that stuff without getting awful peanut oil all over the sizes of the jar. Ugh. Now that we’ve dealt with that, the peanut butter topping is pretty simple. Mix up powdered sugar, butter, peanut butter and vanilla. Done.

OLYMPUS DIGITAL CAMERA

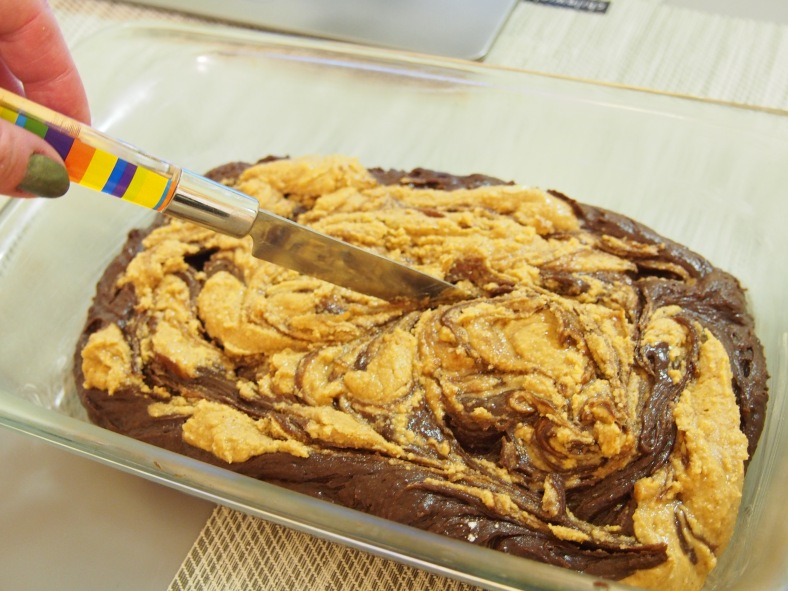
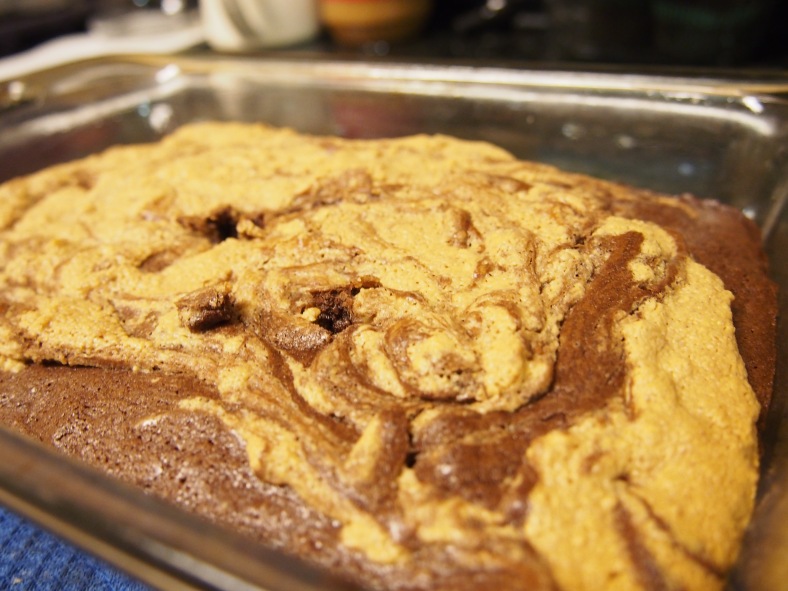
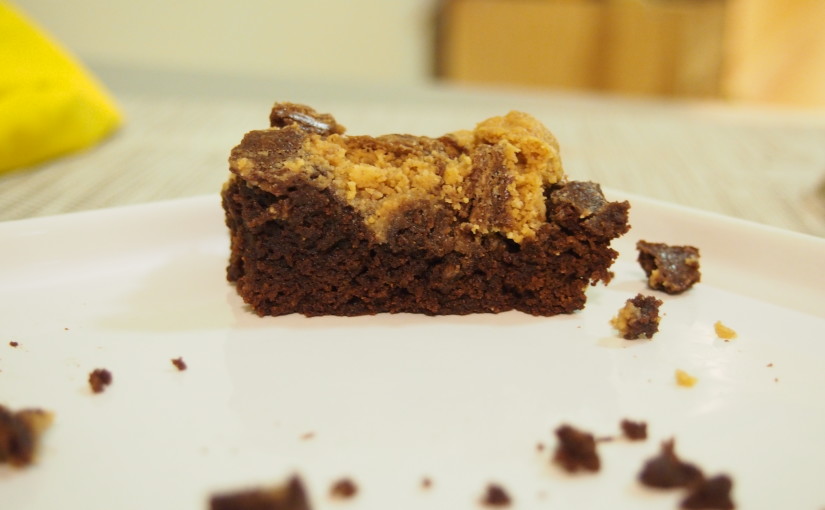
Layering your peanut butter and brownie mix isn’t rocket science. The only thing you need to remember is not to overmix, which would result in a bit too much homogeneity in your brownie treat. Just run a fork through your batter like you’re the hero in a Tolstoy novel,  plowing furrows in the hard Russian earth as you contemplate your own flawed human existence. Or whatever. Make patterns.

OLYMPUS DIGITAL CAMERA

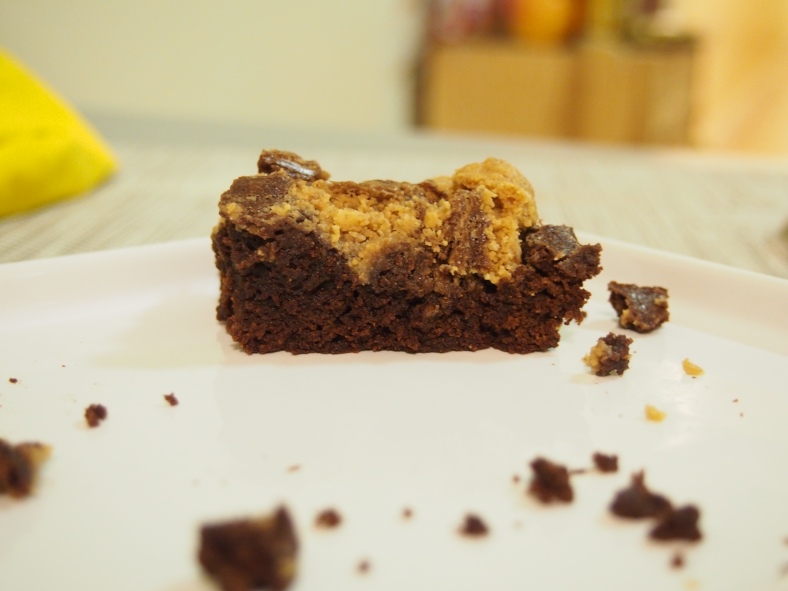
They’ll make a bit more slowly than regular brownies, since they’re insulated under a nice peanut buttery blanket of goodness. These were in the oven for about 35 minutes, then they rested for about 10 minutes before I cut them.

Pro-tip for all: a humble plastic knife is the very best tool for cutting brownies cleanly. I didn’t use one today, but my friend Christina swears by it. She really should start a lifehacking blog, but she’s too busy in med school. You know, becoming a truly productive member of society instead of just an expert brownie hacker.

Check out these wayyy expert stab marks where I tested for doneness! It was my turn, I had to go roll the dice.

OLYMPUS DIGITAL CAMERA

Peanut Butter Brownie Recipe

Brownie base adapted from smitten kitchen’s favorite brownies

Brownie Batter
tbsp cocoa powder + 3 tbsp cocoa powder
1 stick (4 ounces or 115 grams) unsalted butter, plus extra for pan
1 1/3 cups (265 grams) granulated sugar
2 large eggs
1 teaspoon (5 ml) vanilla extract
1/4 teaspoon table salt (about 2 grams)
2/3 cup (85 grams) all-purpose flour

Peanut Butter Topping
2 tbsp butter, melted
1/3 cup powdered sugar
1/2 cup peanut butter (smooth is better, but chunky is ok)
1 tsp vanilla extract

1. Preheat oven to 350F and butter an 8×8 pan.
2. Mix cocoa powder, oil and butter in a large bowl. Add remaining brownie batter ingredients in succession, stirring to combine after each addition. Fold in flour until just combined. Pour into buttered pan.
3. In clean bowl, stir peanut butter mixture until blended. Spoon/pour over brownie batter.
4. Using a clean butter knife or toothpick, swirl peanut butter mixture until it covers the brownie batter, but not so much that they mix together too much.
5. Bake for 30-35 minutes, checking with toothpick for doneness (will come out clean) starting at 30 minutes. Let cool 10 minutes before munching.

OLYMPUS DIGITAL CAMERA

The Wedding Cake, Part 1

My brother is getting married. My little brother. Setting aside the surrealness of that for a moment, his lovely fiancée has a rather prohibitive intolerance to lactose. I grew up with a younger sister with a serious milk (and egg and nut) allergy, so we’re no strangers to adapting recipes to accommodate dairy-free diets. And while my brother and sister-in-law-to-be are opting for a traditional cake for their guests, they’ve asked me to conjure up a dairy-free but still wedding-worthy cake for the two of them (and my sister). Their only request: chocolate. or coffee. or chocolate AND coffee. This is what I came up with.

OLYMPUS DIGITAL CAMERA

I don’t think that alternative ingredients should necessarily hide behind a mask. Tofu shouldn’t try to taste like meat, and nondairy treats shouldn’t have to “trick” anybody into thinking they’re something they’re not. That said, nothing should taste like a shitty version of the real deal. So I’m going to play with awesome recipes that I love and tweak them to make the best dairy-free wedding cake ever.

Part One: The Batter

The “meat” of a wedding cake is the cake itself, of course. You don’t want it to be so light and fluffy that it’s airy and tasteless, but not so dense and fudgy that you take two bites and your teeth are already cemented together. Commercial wedding cakes have a reputation for being dry and bland, which are two qualities I’d especially like to avoid. I’ve decided to adapt Smitten Kitchen’s Double Chocolate Layer Cake, which is pretty damn awesome as it is, to be milk-free. Sine there’s no butter involved it’s a relatively easy switch.

Adaptations

Buttermilk >>> Coconut Milk

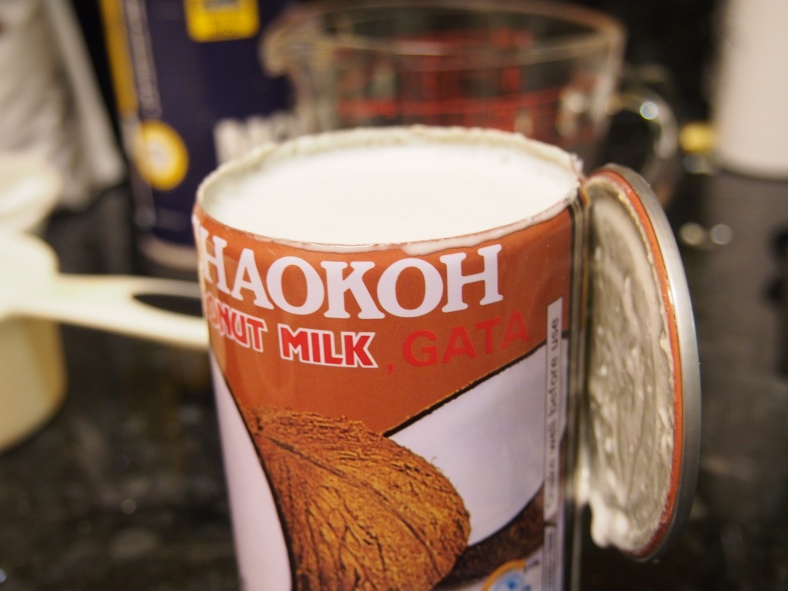
The world of buttermilk is rife with possible substitutions. I think I’ve bought actually, in the carton buttermilk once in the past year. My go-to sub is half-milk, half-yogurt. When that’s not available, 1 tablespoon to 1 cup milk (minus 1 tablespoon) stirred and chilled is entirely adequate. My usual approach lacking the requisite quality of not being milk, I’m opting for the next best thing: coconut milk.

OLYMPUS DIGITAL CAMERA

Coconut milk acts pretty much the same way as milk when baked into a cake, and it’s flavor isn’t so obtrusive that it will mess with the taste of the cake too much. To give it a bit more of the acidity of buttermilk (this is often a key feature in the alchemy of baking), I’ll add the vinegar as I would with plain ol’ milk.

More Egg!

I’ve tried adapting cake recipes to be dairy-free before, I can say that the results can be a little…sloppy. While a loose crumb doesn’t necessarily impact the deliciousness of a cake, I need this particular one to hold up to frosting without losing its shit (i.e. shedding crumbs everywhere).  A little extra binder should do the trick, so I’m upping the egg count of the original recipe from 3 to 4 (2 in the halved recipe).

Double Chocolate Dairy-free Cake, Round One

I’m halving the recipe to keep the volume reasonable; this batch yielded about 18 cupcakes, which is more than enough for normal cupcake-making purposes. Jump to the printable recipe here.

1. Chocolate Mix #1

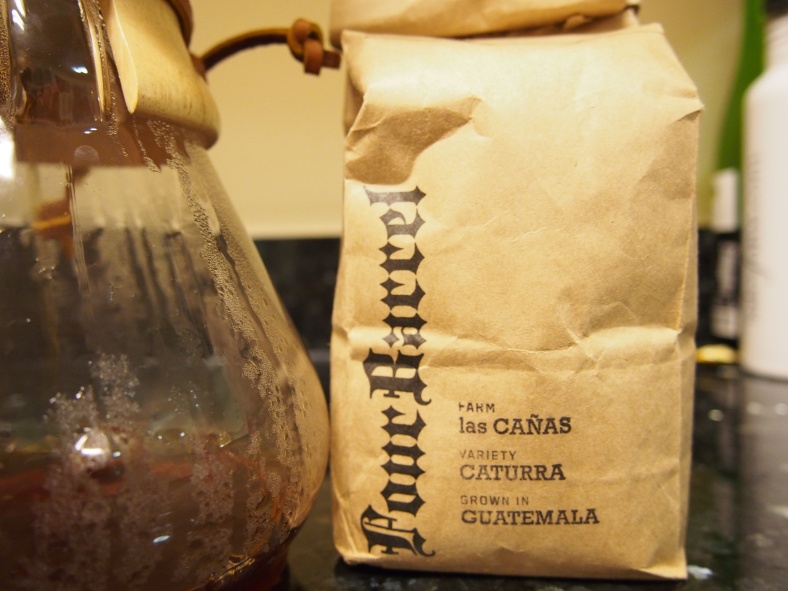
Coffee is about best thing you can add to chocolate. It adds complexity and depth, while giving a nod to the shared roots of chocolate and coffee (hah, because if there’s anything you need to pay attention to when baking, it’s historical accuracy in flavor pairing). While you can go the easier route of instant coffee, or any old Starbucks blend you have laying around, I look for any excuse at all to use the Chemex my mom got me for Christmas. And the Hario Buono kettle that my boyfriend got me. I also got an Aeropress, not used here. Oh God, I have a lot of coffee gear. I used some delicious Four Barrel coffee that I had up in the cupboard.

OLYMPUS DIGITAL CAMERA

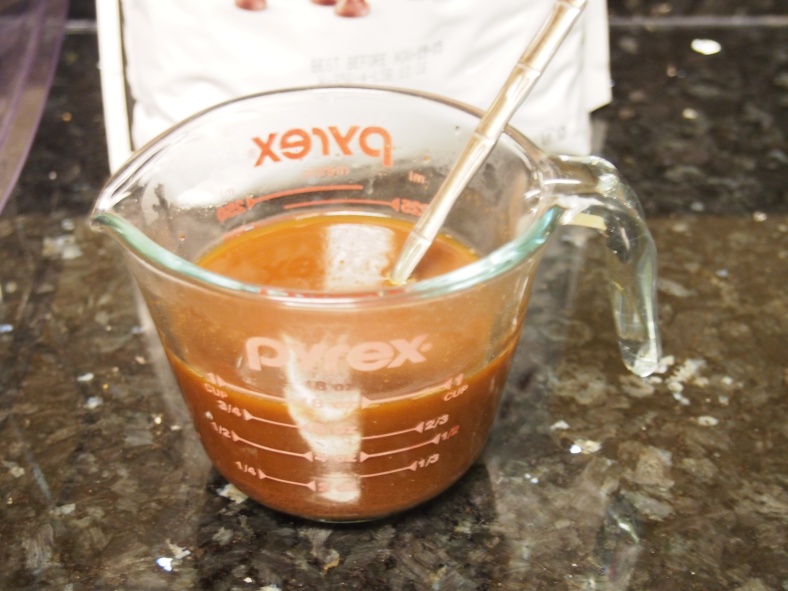
Mix the hot coffee with 1/4 cup of semisweet chocolate chips (remember kids, check the label for milk ingredients). Yep, just dump a handful of chocolate chips into a cup of coffee and stir til combined. Wonder what you’re doing with your life. It might look a little sludgy and unappetizing, but it will smell awesome and you’ll want to just add some of that coconut milk and call it hot chocolate and call it quits on the cake. But don’t.

OLYMPUS DIGITAL CAMERA

2. The Dry Goods

Here’s where chocolate #2 comes into play. Sift together sugar, flour, cocoa powder, baking soda, baking powder, and salt in a large bowl, then stir up til combined. Whenever I stir anything with cocoa powder I go to fast and kick up a dust cloud of cocoa powder and worry I’m going to inhale it. Although to be perfectly honest, chocolate asphyxiation doesn’t sound like the worst way to die. I can think of like 10 other ways my kitchen could kill me that would be way worse. Anyway, stir slowly and set that aside.

3. Liquids n’ Things

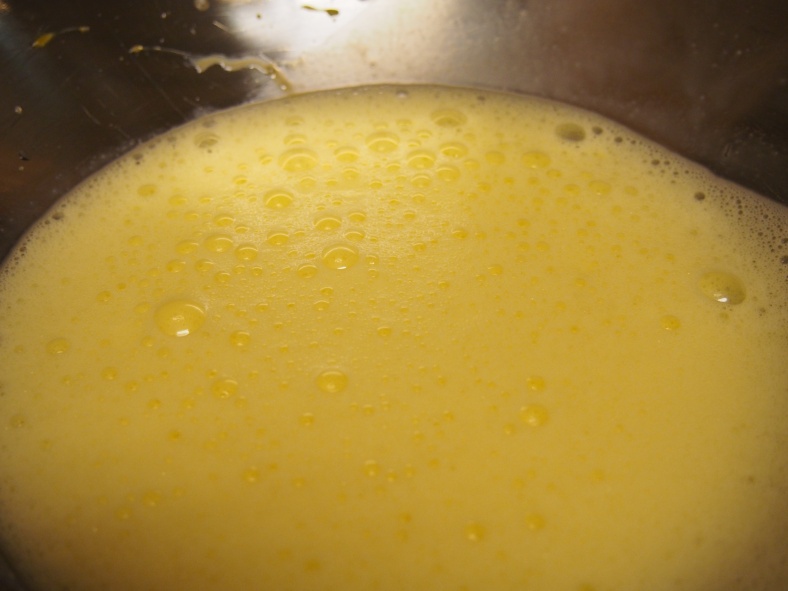
Crack yo’ eggs into to bowl and beat until “lemon yellow,” according to the source recipe. What is lemon yellow, you say? How do I objectively determine when my eggs have achieved lemon status? Here is a swatch of Crayola-canon lemon yellow. If you are less anal retentive, beat your eggs for about 5 minutes with an electric hand mixer (less if you’re using a standing mixer). The goal is just to achieve a nice, homogeneous yellow color. Whether it matches the lemons you have on hand or not is not strictly important.

OLYMPUS DIGITAL CAMERA

When you’ve achieved the desired egg color and consistency, slowly add in vegetable oil, coconut milk (and vinegar) and vanilla. Mix until well blended.

4. All Together Now

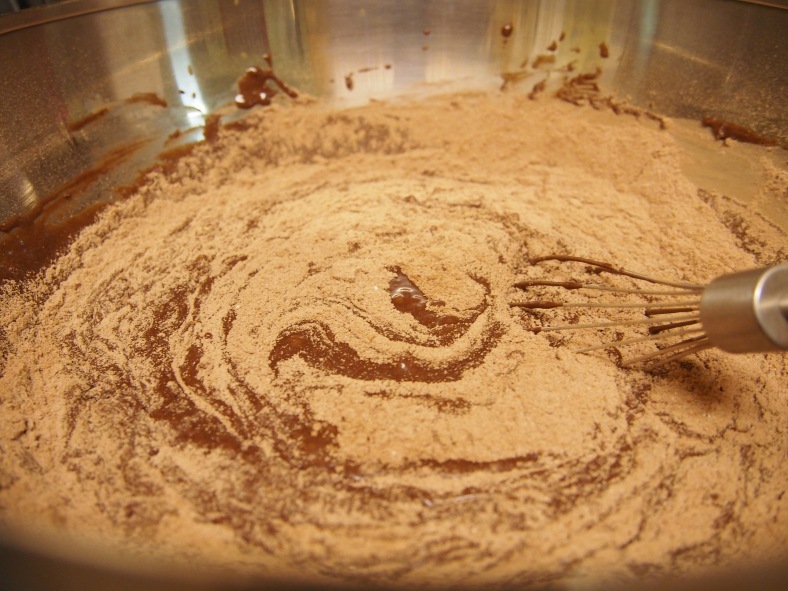
Add in the cocoa mixture and blend until just combined. I switched to a hand whisk for this step because I’m always afraid of overmixing with my electric mixer.

OLYMPUS DIGITAL CAMERA

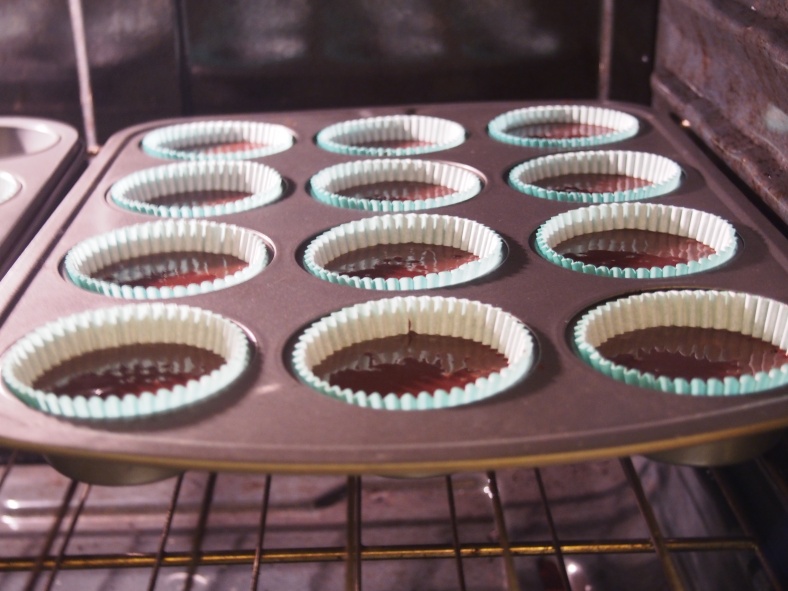
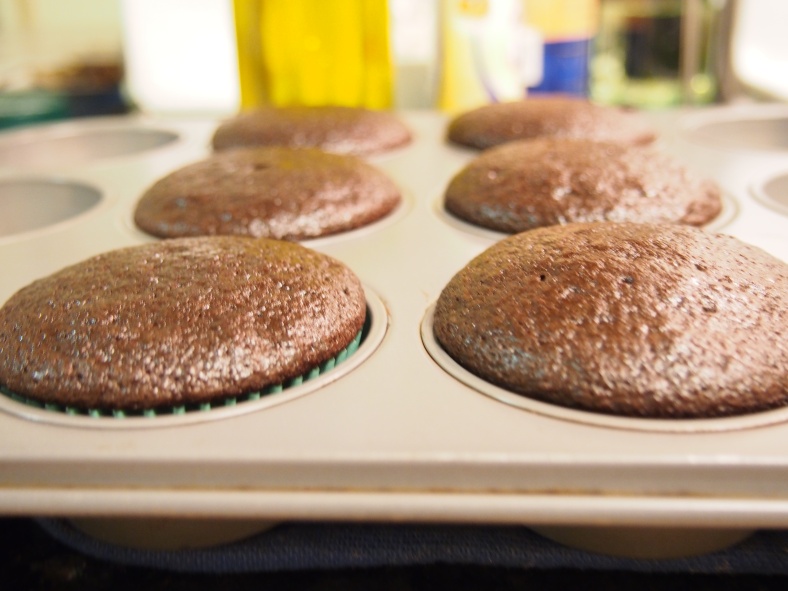
When it’s ready to go, pour it into cupcake tins (I went for about 2/3 of the way full), and stick ’em in the oven. I baked mine for 25 minutes at 300°F, but I’d keep an eye on them from the 20 minute mark on. They’re done when a toothpick (or other thin pointy testing apparatus) comes out clean.

OLYMPUS DIGITAL CAMERA

The Takeaway:

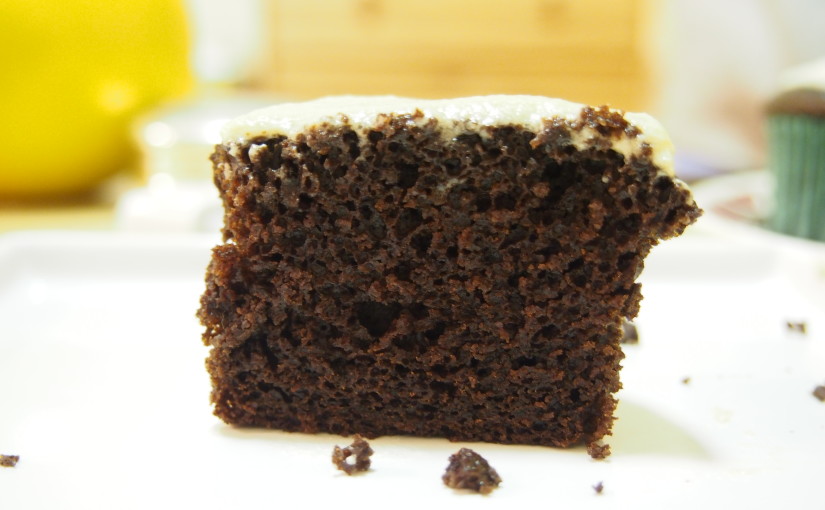
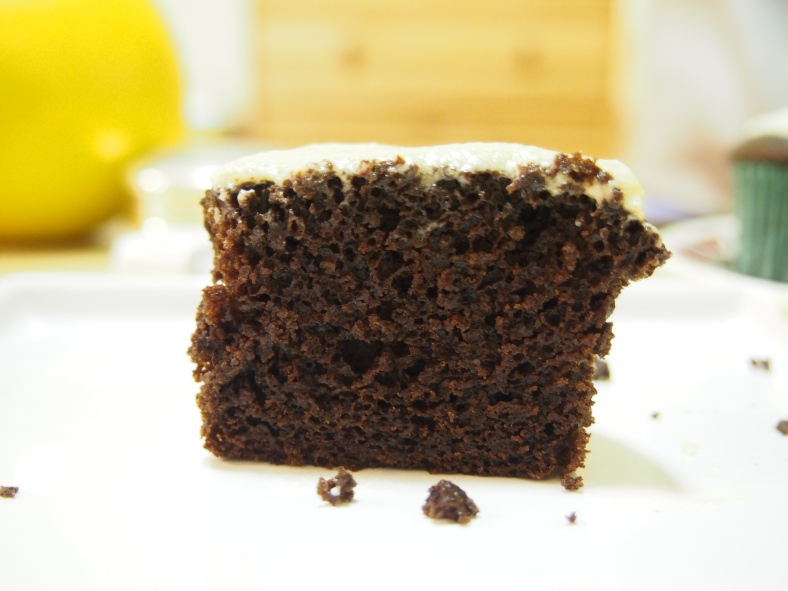
My professional taste-testing team (read: roommates and anyone who happened to be around the day I baked these) loved the taste and consistency of the cupcakes. They were moist and tender, without falling apart when you take a bite. I made cream cheese, vanilla and coffee frosting to test out different pairings, but the consistency and flavor of these wasn’t quite on-par with my expectations. I won’t be changing the recipe for the cake at this point, but I will be doing another test-run with a full-sized cake.

OLYMPUS DIGITAL CAMERA

The Recipe

1.5 oz (1/4 cup) semisweet chocolate chips
3/4 c hot brewed coffee
1 1/2 c sugar
1 1/4 c flour
3/4 c unsweetened cocoa powder
1 tsp baking soda
3/8 tsp baking powder
5/8 tsp table salt
2 large eggs
3/8 c vegetable oil
3/4 c coconut milk (plus 3/4 tbsp white vinegar)
1/2 tsp vanilla extract

1. Preheat oven to 300°F

2. Combine hot coffee with chocolate chips and stir until chocolate is melted and integrated. Set aside.

3. Sift together dry ingredients (sugar, flour, cocoa, baking soda and baking powder, salt) and stir to combine. Set aside.

4. Beat eggs until lemon yellow (5 minutes with electric hand mixer, 3 with standing mixer). Slowly add oil, coconut milk, and vanilla. When wet ingredients are well-blended, add cocoa mixture and stir with a whisk until just combined.

5. Pour into cupcake tins (alternatively, pour into 1 prepared 10″ cake pan).

6. Bake 25-30 minutes, checking for doneness starting at the 20 minute mark (60-70 minutes for 10″ cake). Let cool before frosting. Eat.