The Wedding Cake, Part 1

My brother is getting married. My little brother. Setting aside the surrealness of that for a moment, his lovely fiancée has a rather prohibitive intolerance to lactose. I grew up with a younger sister with a serious milk (and egg and nut) allergy, so we’re no strangers to adapting recipes to accommodate dairy-free diets. And while my brother and sister-in-law-to-be are opting for a traditional cake for their guests, they’ve asked me to conjure up a dairy-free but still wedding-worthy cake for the two of them (and my sister). Their only request: chocolate. or coffee. or chocolate AND coffee. This is what I came up with.

OLYMPUS DIGITAL CAMERA

I don’t think that alternative ingredients should necessarily hide behind a mask. Tofu shouldn’t try to taste like meat, and nondairy treats shouldn’t have to “trick” anybody into thinking they’re something they’re not. That said, nothing should taste like a shitty version of the real deal. So I’m going to play with awesome recipes that I love and tweak them to make the best dairy-free wedding cake ever.

Part One: The Batter

The “meat” of a wedding cake is the cake itself, of course. You don’t want it to be so light and fluffy that it’s airy and tasteless, but not so dense and fudgy that you take two bites and your teeth are already cemented together. Commercial wedding cakes have a reputation for being dry and bland, which are two qualities I’d especially like to avoid. I’ve decided to adapt Smitten Kitchen’s Double Chocolate Layer Cake, which is pretty damn awesome as it is, to be milk-free. Sine there’s no butter involved it’s a relatively easy switch.

Adaptations

Buttermilk >>> Coconut Milk

The world of buttermilk is rife with possible substitutions. I think I’ve bought actually, in the carton buttermilk once in the past year. My go-to sub is half-milk, half-yogurt. When that’s not available, 1 tablespoon to 1 cup milk (minus 1 tablespoon) stirred and chilled is entirely adequate. My usual approach lacking the requisite quality of not being milk, I’m opting for the next best thing: coconut milk.

OLYMPUS DIGITAL CAMERA

Coconut milk acts pretty much the same way as milk when baked into a cake, and it’s flavor isn’t so obtrusive that it will mess with the taste of the cake too much. To give it a bit more of the acidity of buttermilk (this is often a key feature in the alchemy of baking), I’ll add the vinegar as I would with plain ol’ milk.

More Egg!

I’ve tried adapting cake recipes to be dairy-free before, I can say that the results can be a little…sloppy. While a loose crumb doesn’t necessarily impact the deliciousness of a cake, I need this particular one to hold up to frosting without losing its shit (i.e. shedding crumbs everywhere).  A little extra binder should do the trick, so I’m upping the egg count of the original recipe from 3 to 4 (2 in the halved recipe).

Double Chocolate Dairy-free Cake, Round One

I’m halving the recipe to keep the volume reasonable; this batch yielded about 18 cupcakes, which is more than enough for normal cupcake-making purposes. Jump to the printable recipe here.

1. Chocolate Mix #1

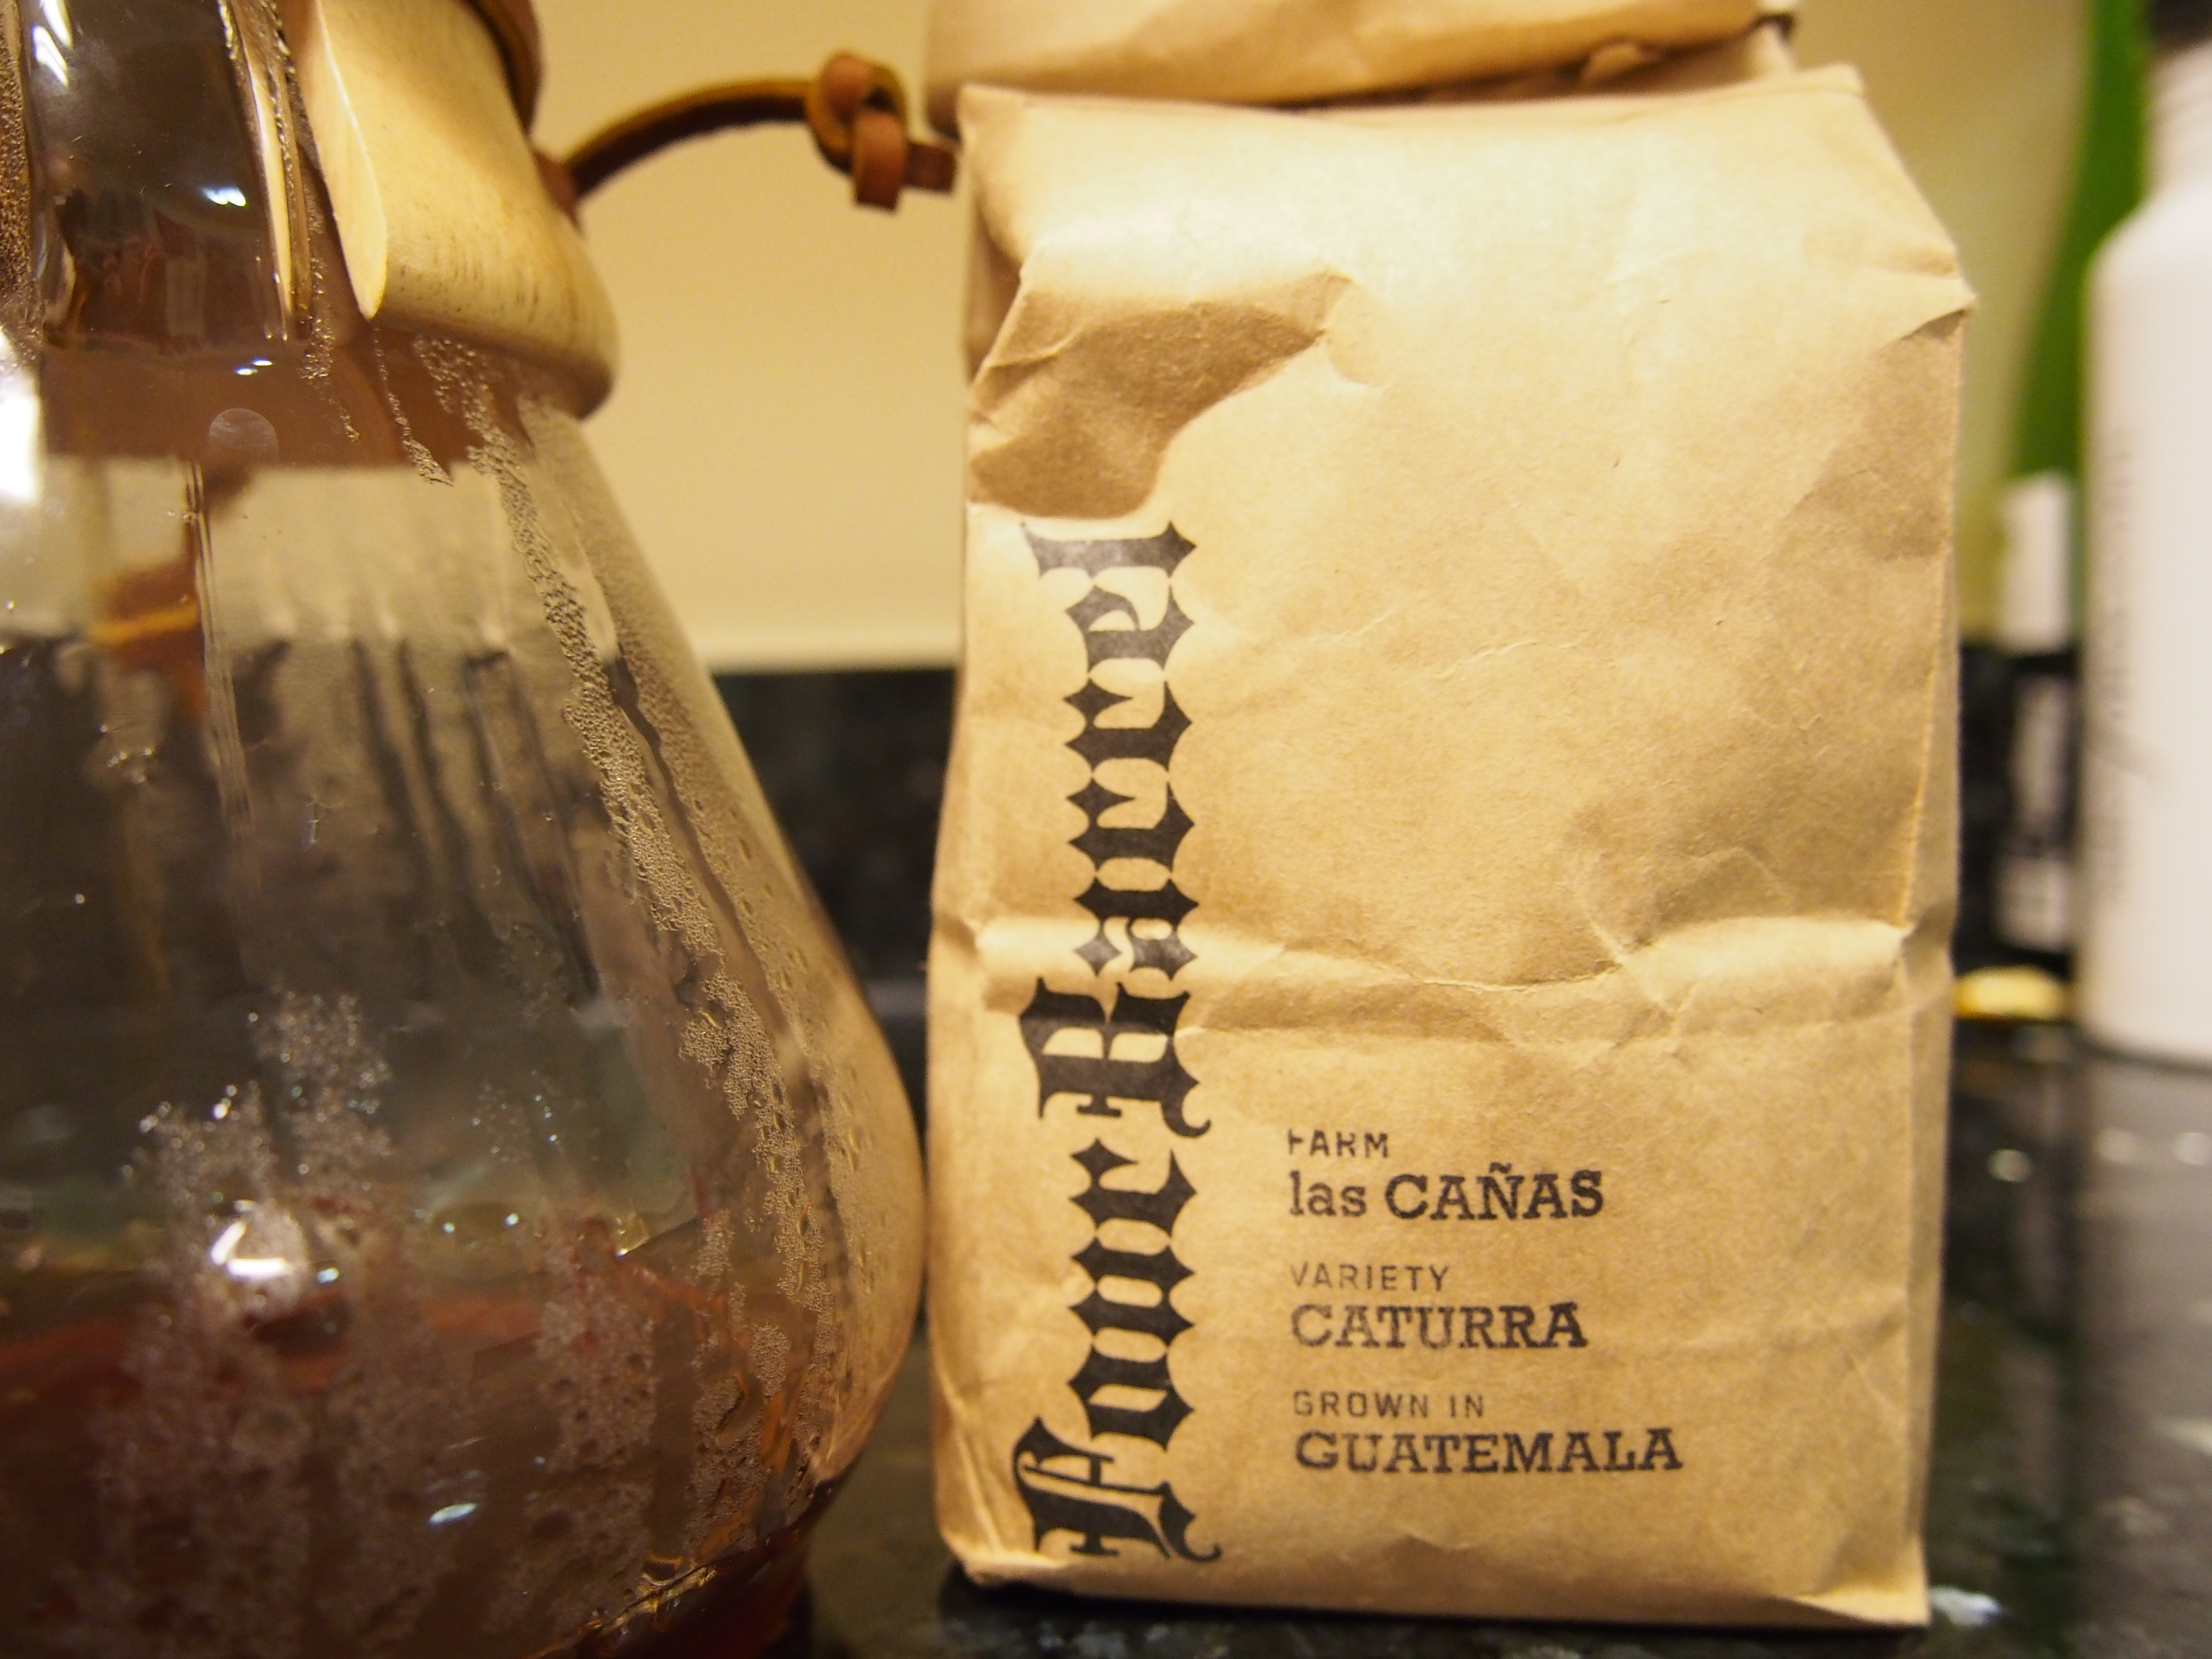
Coffee is about best thing you can add to chocolate. It adds complexity and depth, while giving a nod to the shared roots of chocolate and coffee (hah, because if there’s anything you need to pay attention to when baking, it’s historical accuracy in flavor pairing). While you can go the easier route of instant coffee, or any old Starbucks blend you have laying around, I look for any excuse at all to use the Chemex my mom got me for Christmas. And the Hario Buono kettle that my boyfriend got me. I also got an Aeropress, not used here. Oh God, I have a lot of coffee gear. I used some delicious Four Barrel coffee that I had up in the cupboard.

OLYMPUS DIGITAL CAMERA

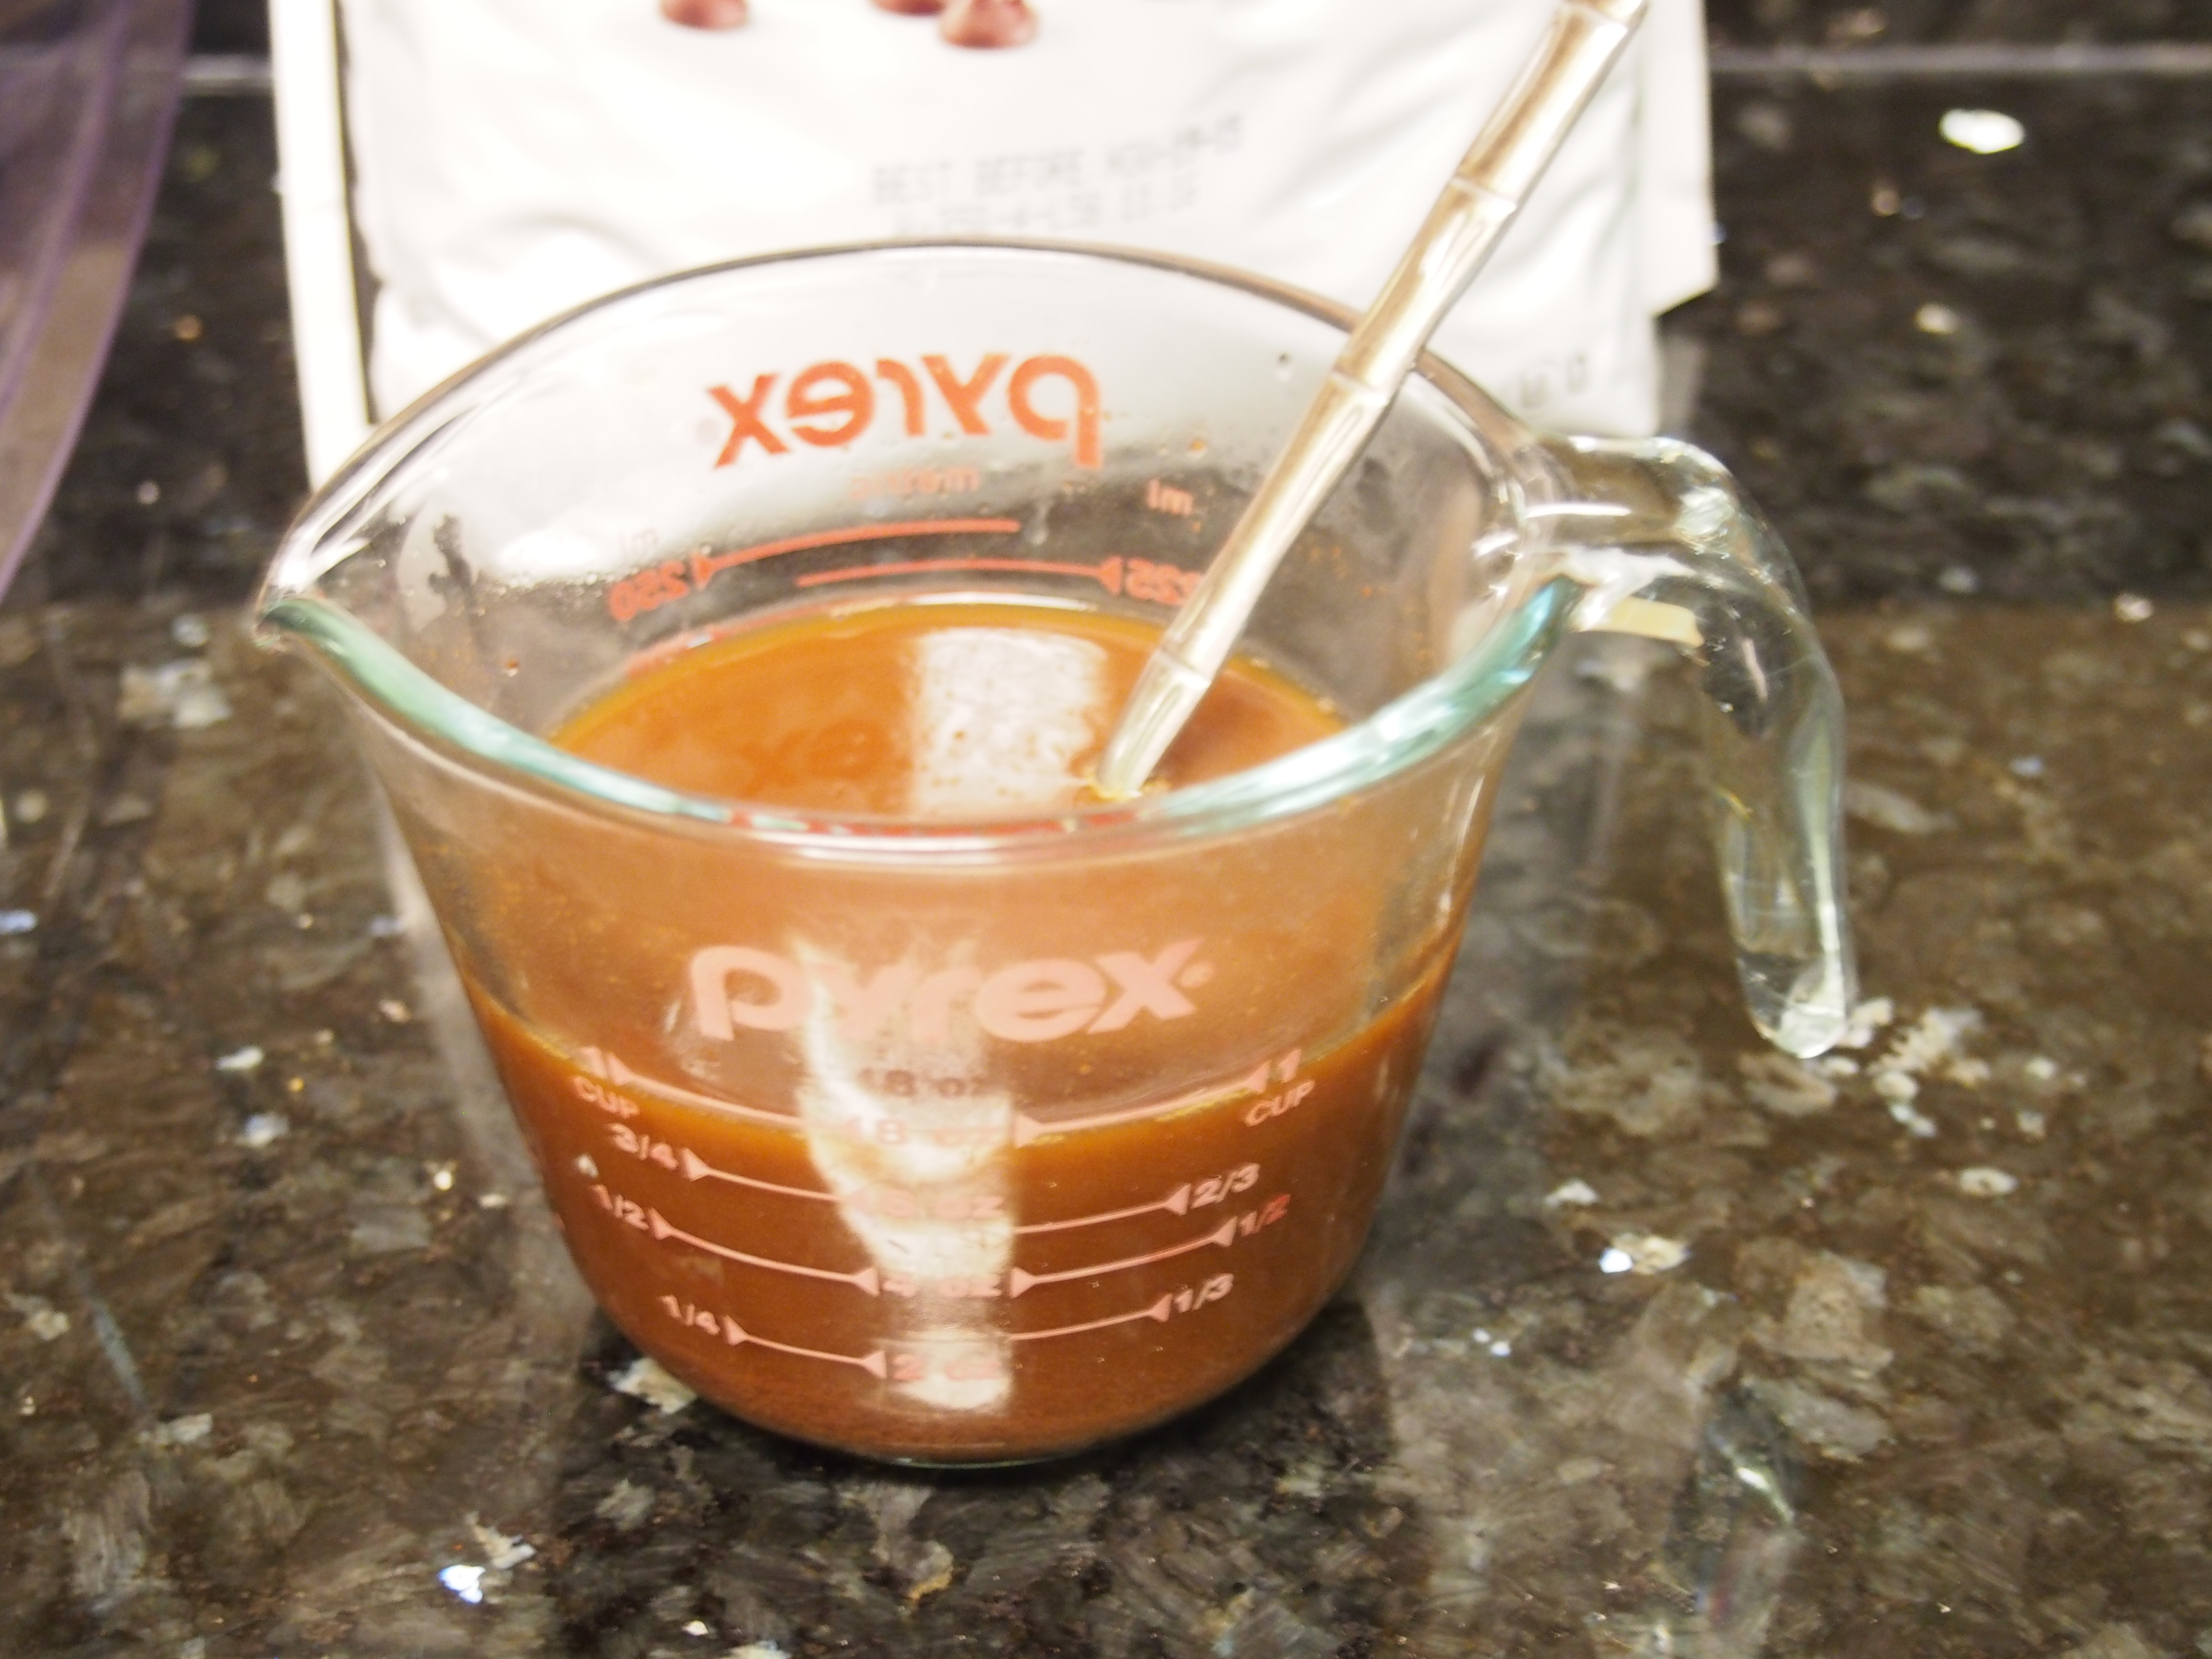
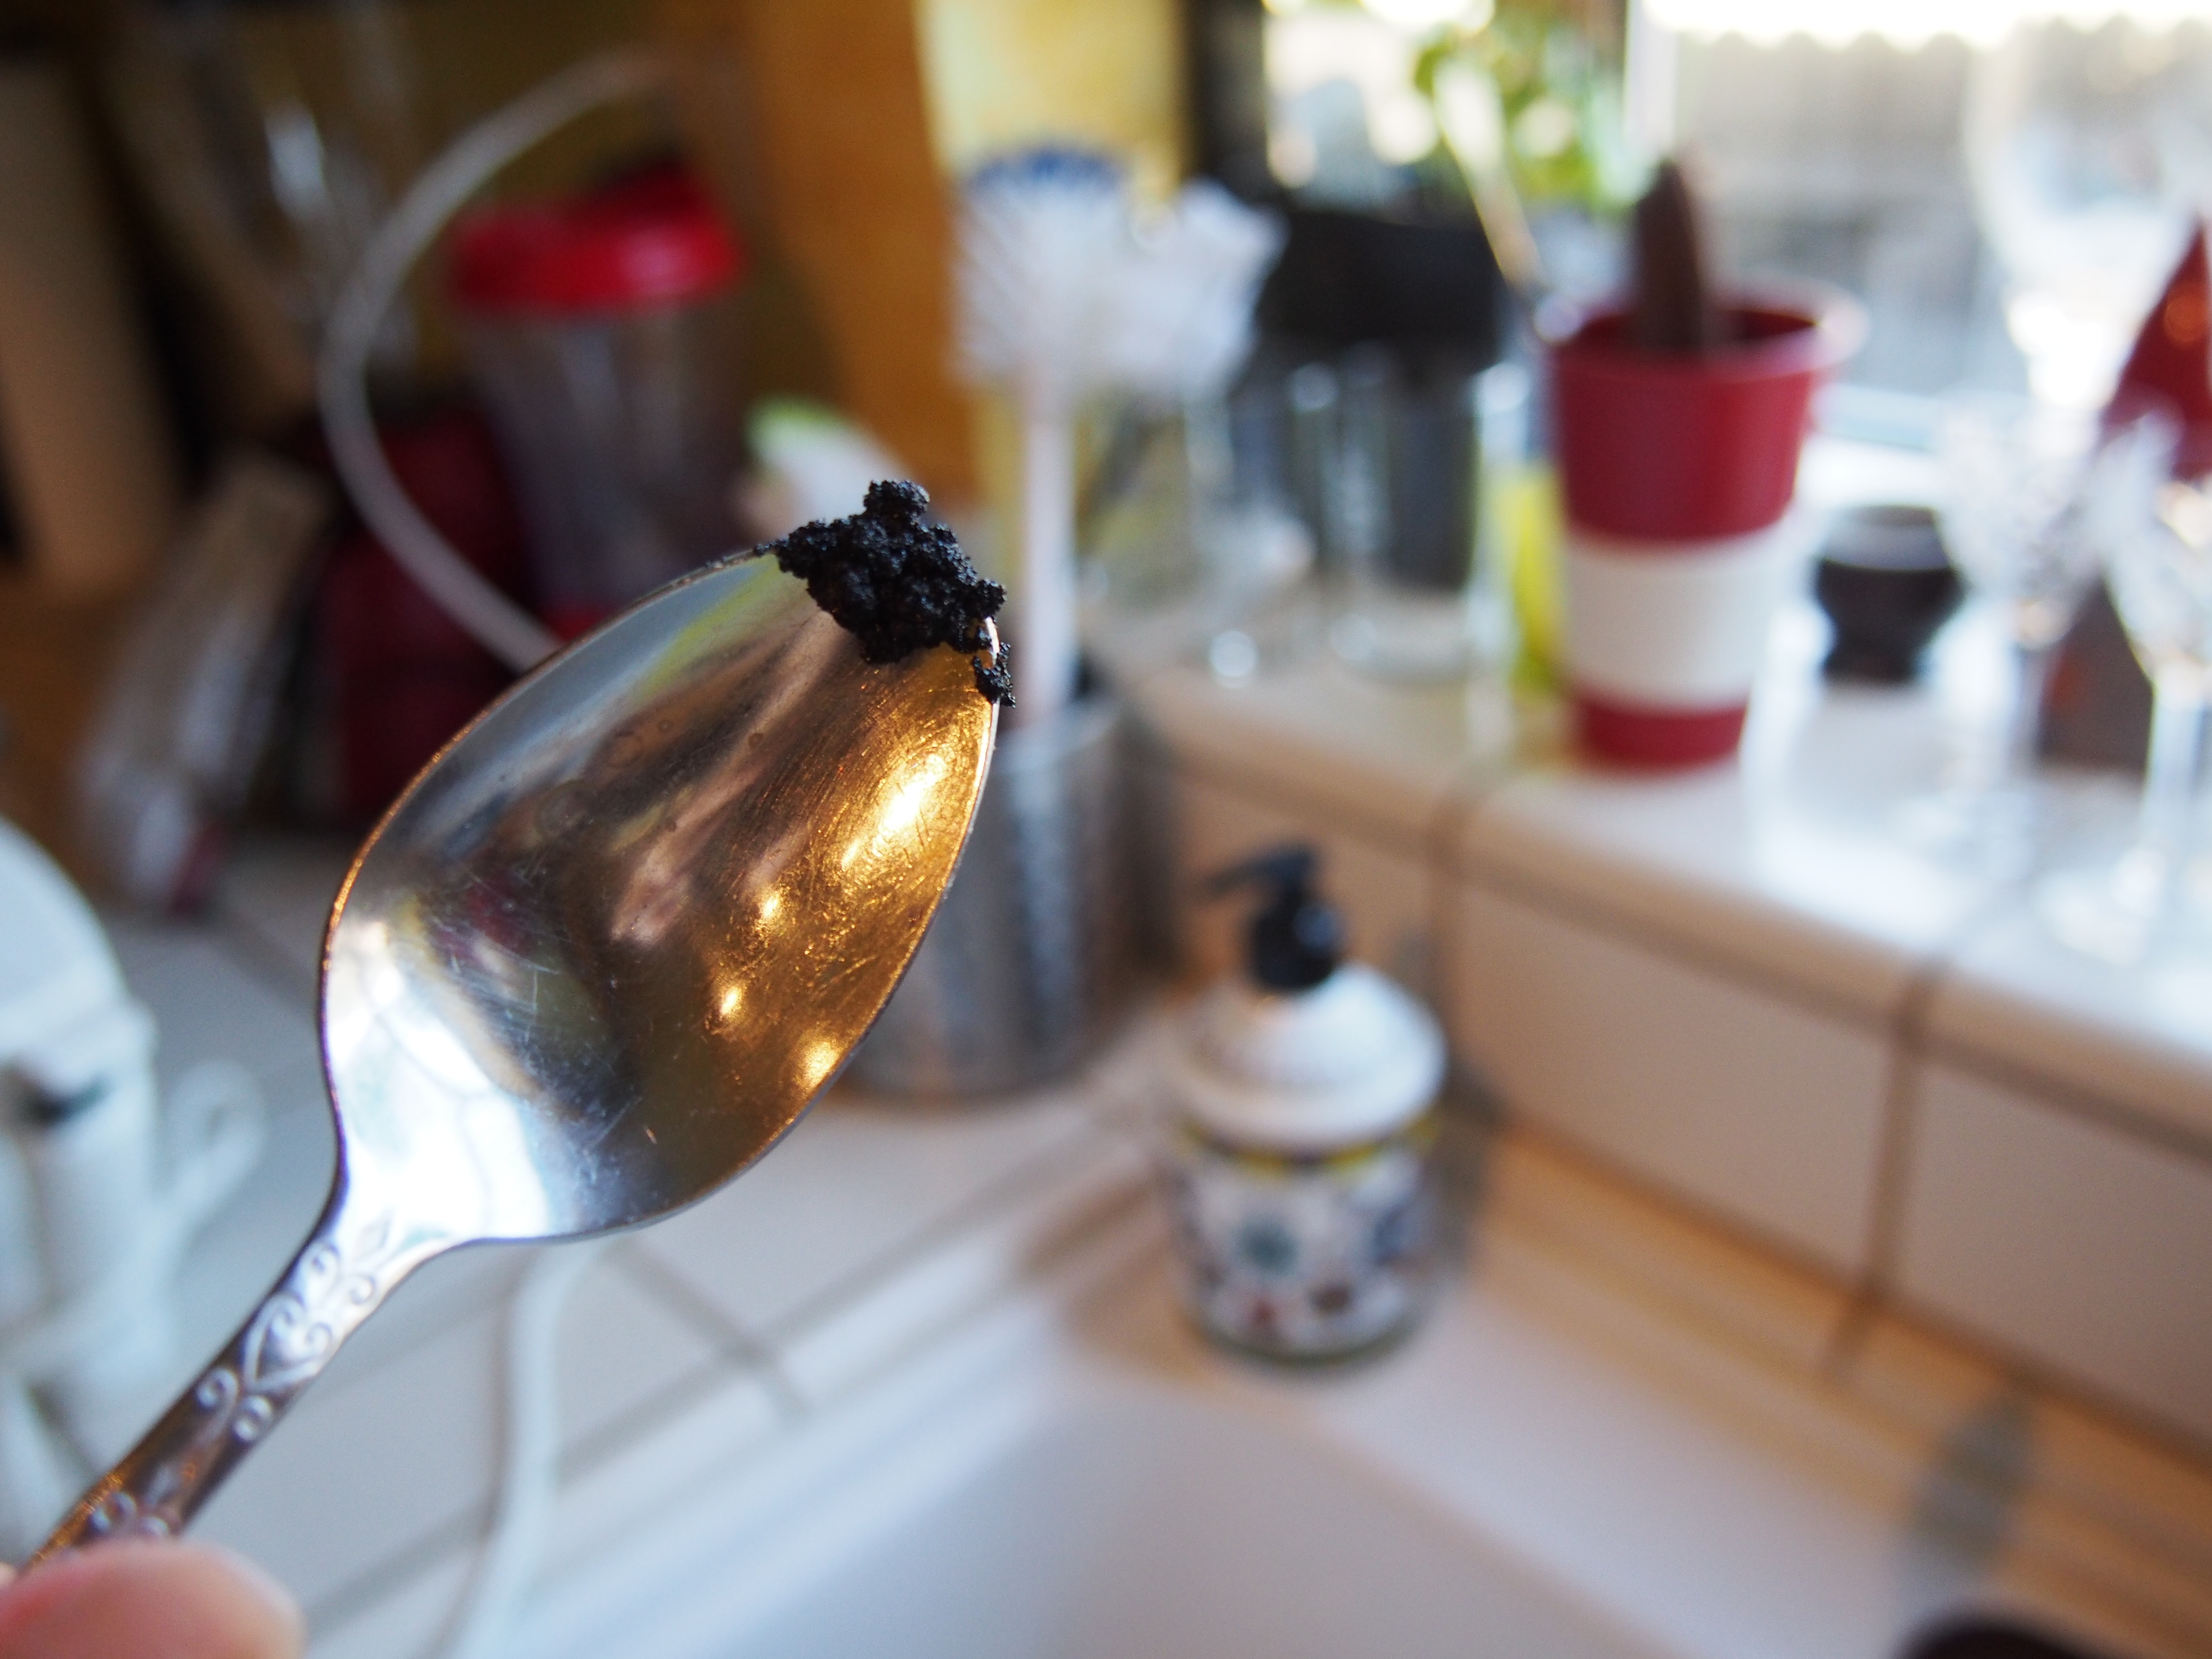
Mix the hot coffee with 1/4 cup of semisweet chocolate chips (remember kids, check the label for milk ingredients). Yep, just dump a handful of chocolate chips into a cup of coffee and stir til combined. Wonder what you’re doing with your life. It might look a little sludgy and unappetizing, but it will smell awesome and you’ll want to just add some of that coconut milk and call it hot chocolate and call it quits on the cake. But don’t.

OLYMPUS DIGITAL CAMERA

2. The Dry Goods

Here’s where chocolate #2 comes into play. Sift together sugar, flour, cocoa powder, baking soda, baking powder, and salt in a large bowl, then stir up til combined. Whenever I stir anything with cocoa powder I go to fast and kick up a dust cloud of cocoa powder and worry I’m going to inhale it. Although to be perfectly honest, chocolate asphyxiation doesn’t sound like the worst way to die. I can think of like 10 other ways my kitchen could kill me that would be way worse. Anyway, stir slowly and set that aside.

3. Liquids n’ Things

Crack yo’ eggs into to bowl and beat until “lemon yellow,” according to the source recipe. What is lemon yellow, you say? How do I objectively determine when my eggs have achieved lemon status? Here is a swatch of Crayola-canon lemon yellow. If you are less anal retentive, beat your eggs for about 5 minutes with an electric hand mixer (less if you’re using a standing mixer). The goal is just to achieve a nice, homogeneous yellow color. Whether it matches the lemons you have on hand or not is not strictly important.

OLYMPUS DIGITAL CAMERA

When you’ve achieved the desired egg color and consistency, slowly add in vegetable oil, coconut milk (and vinegar) and vanilla. Mix until well blended.

4. All Together Now

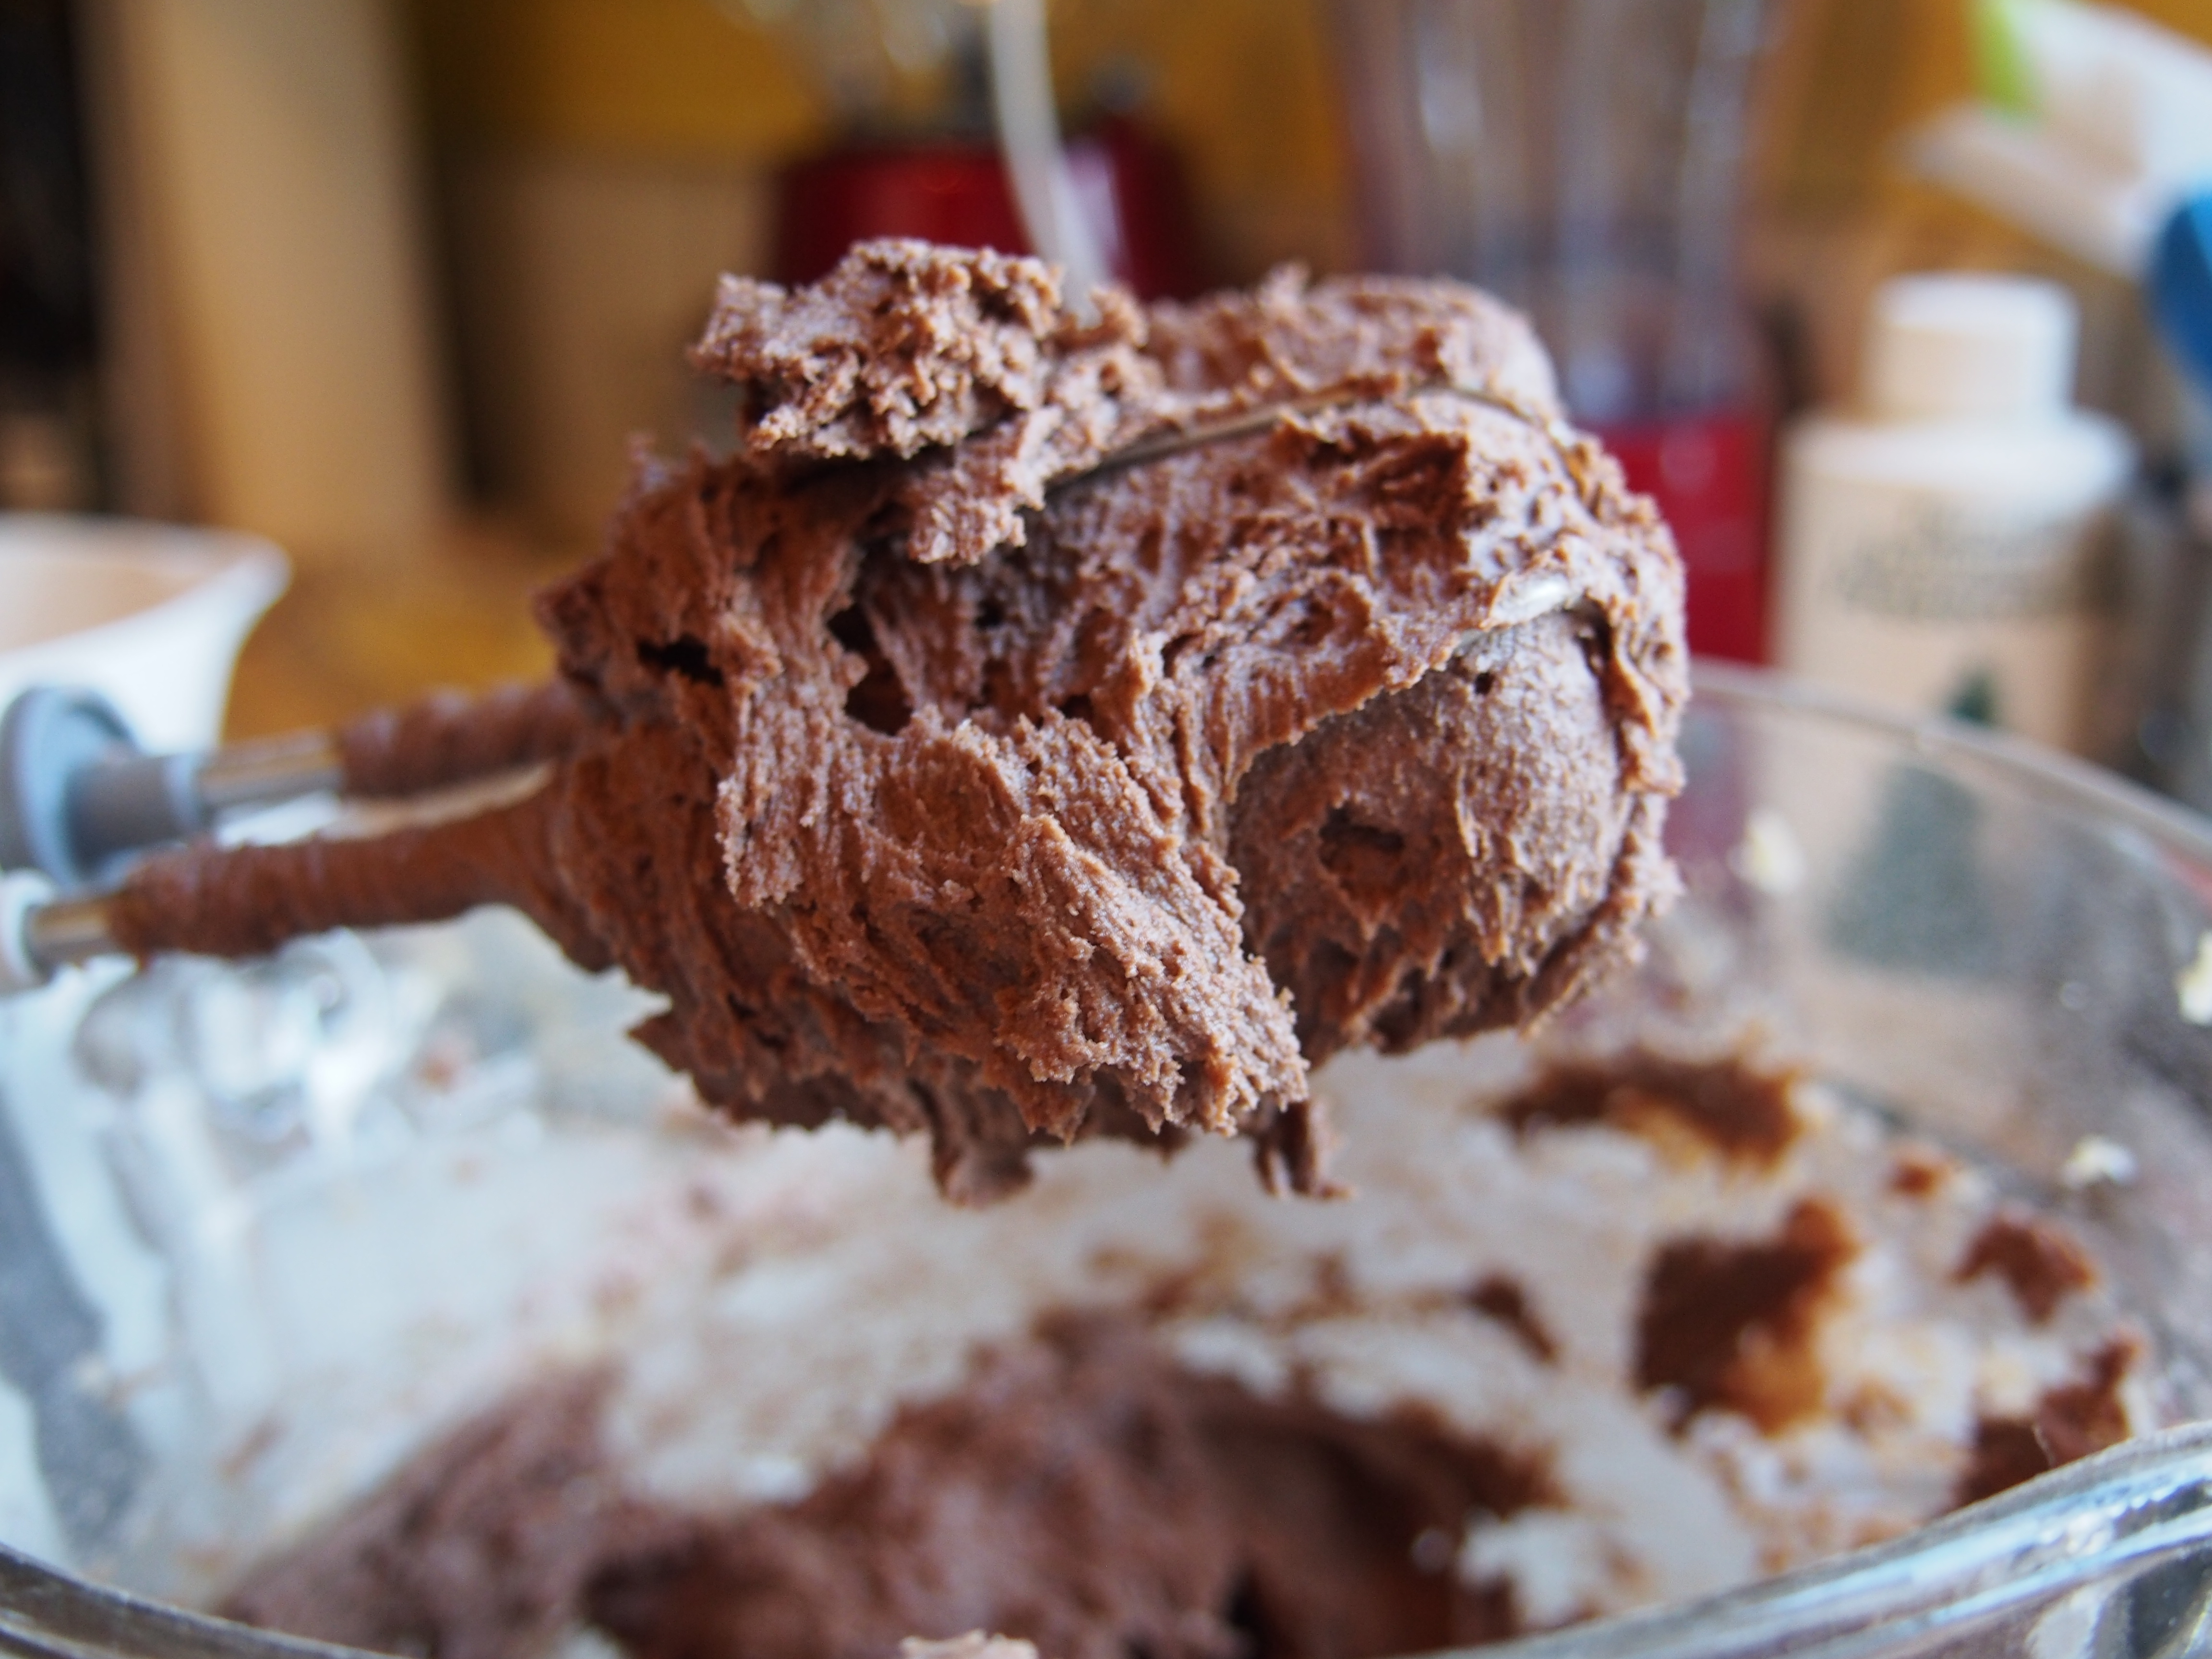
Add in the cocoa mixture and blend until just combined. I switched to a hand whisk for this step because I’m always afraid of overmixing with my electric mixer.

OLYMPUS DIGITAL CAMERA

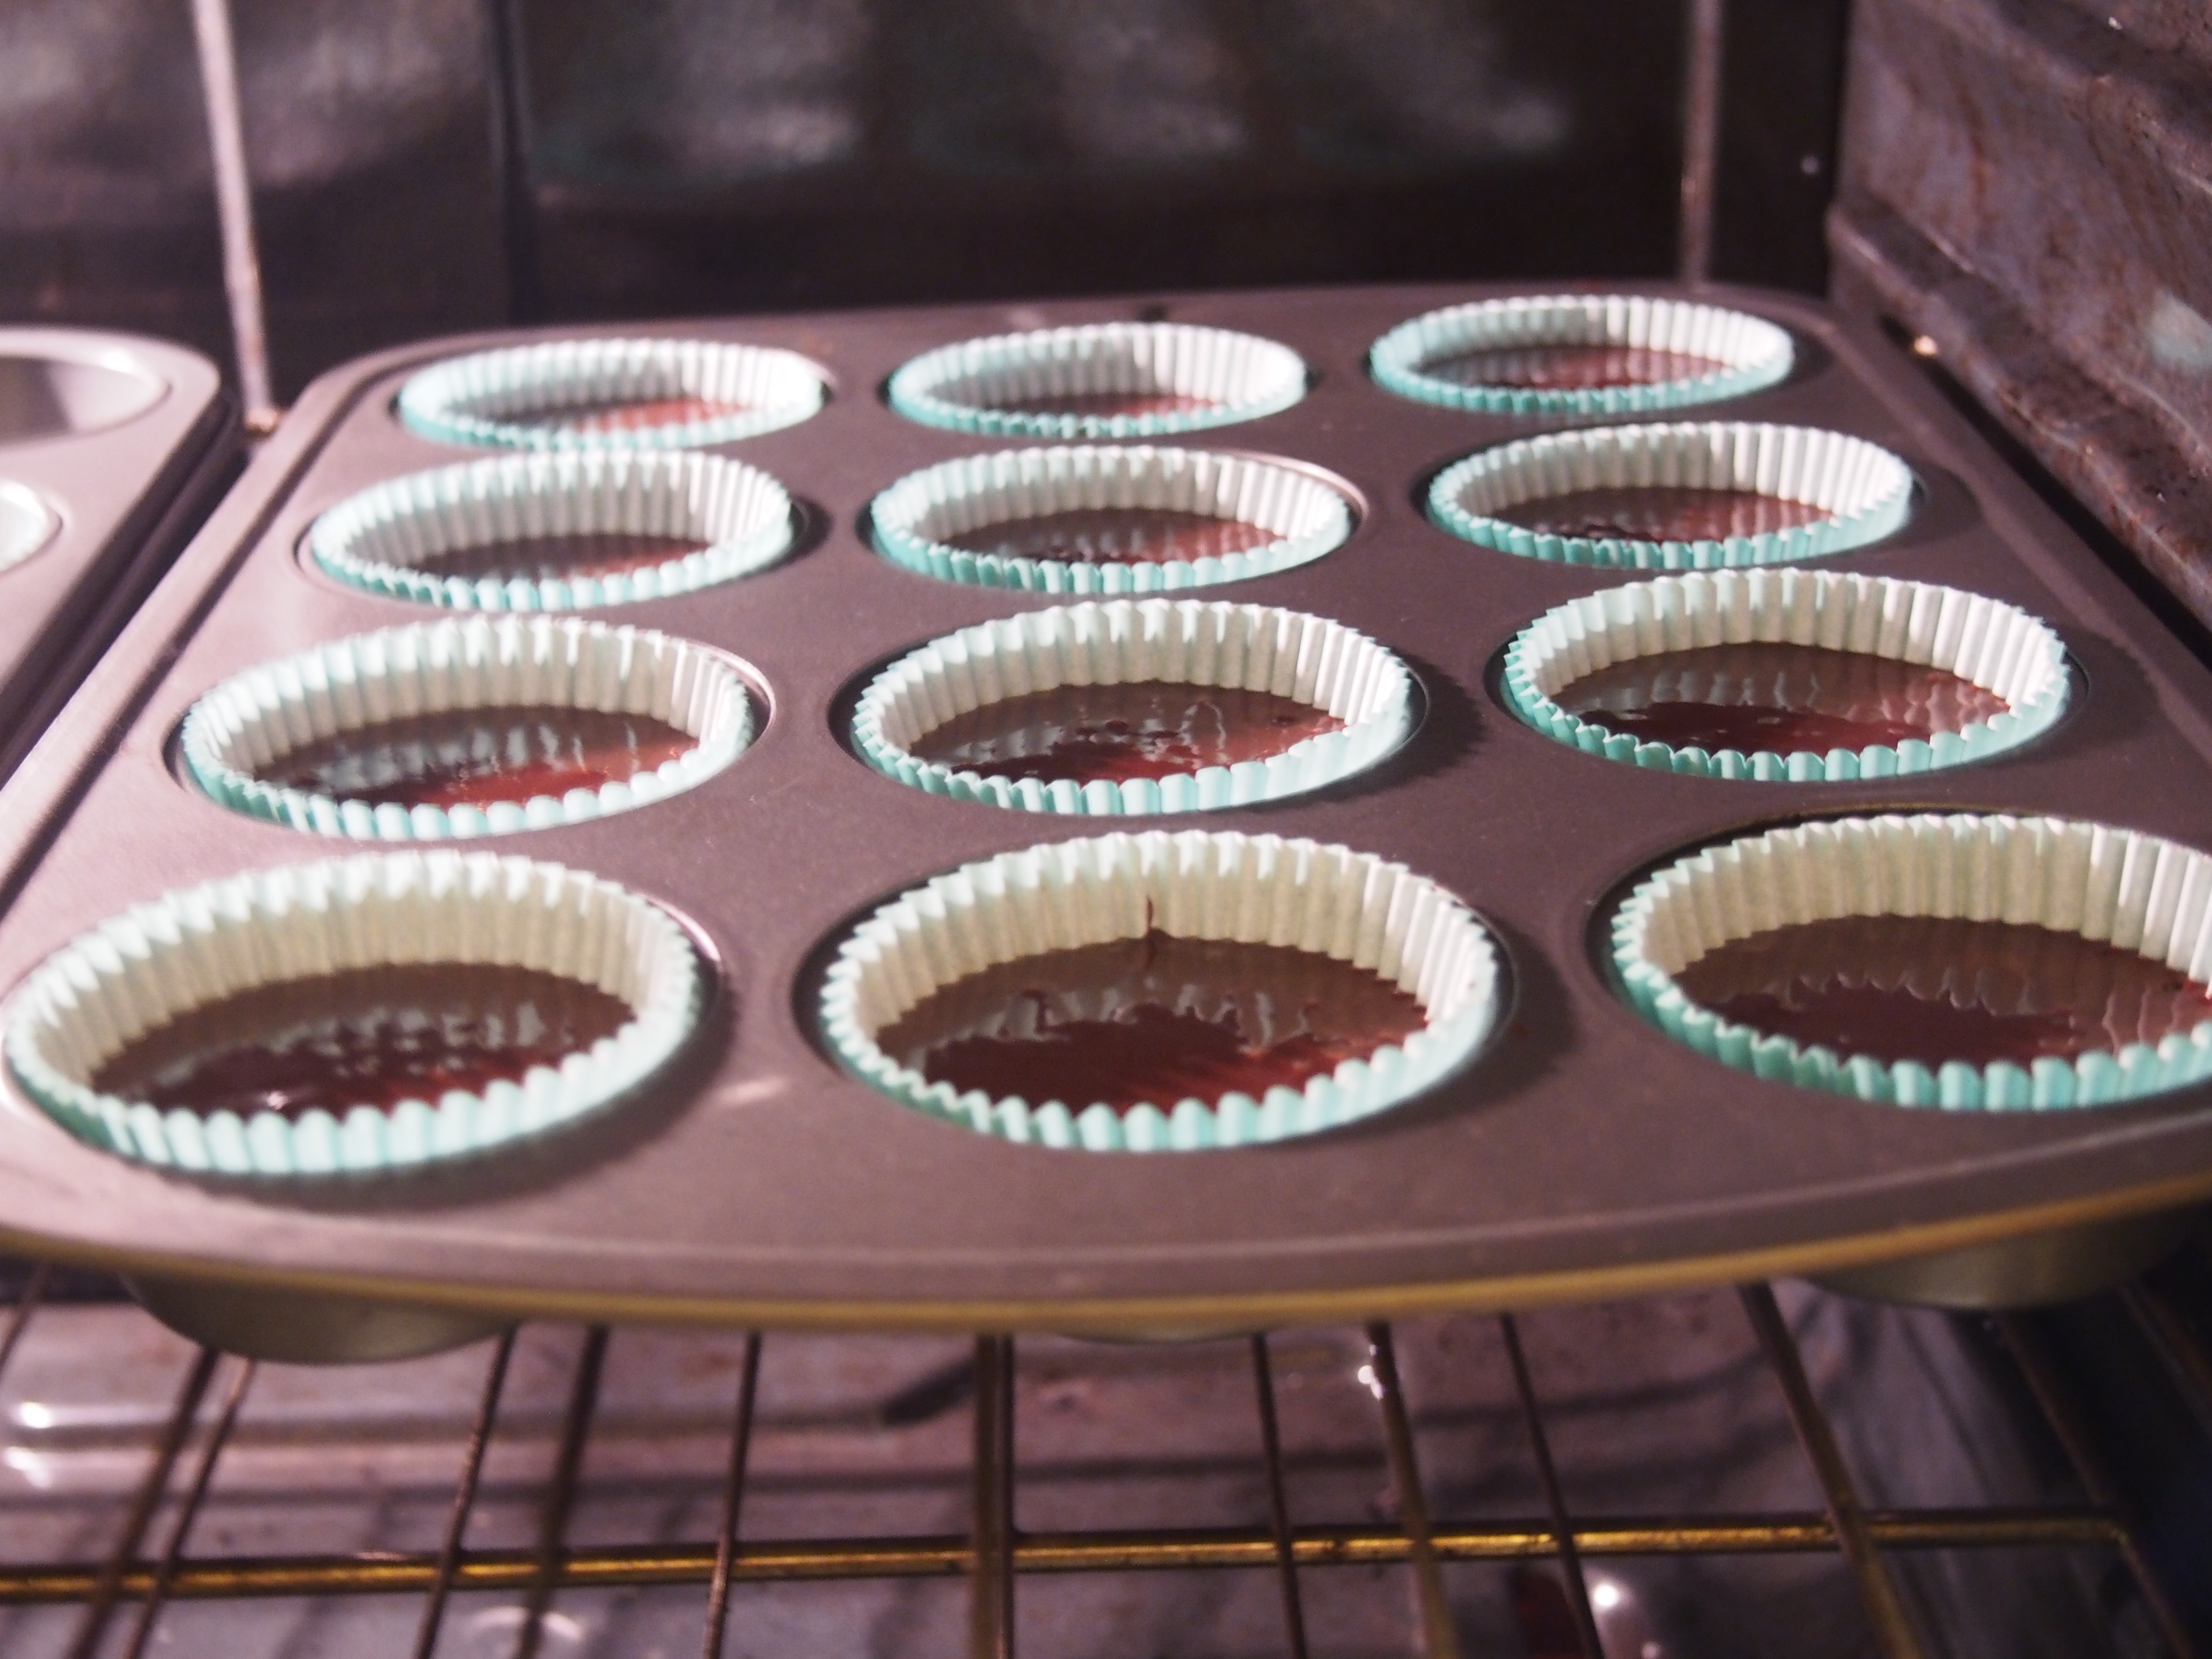
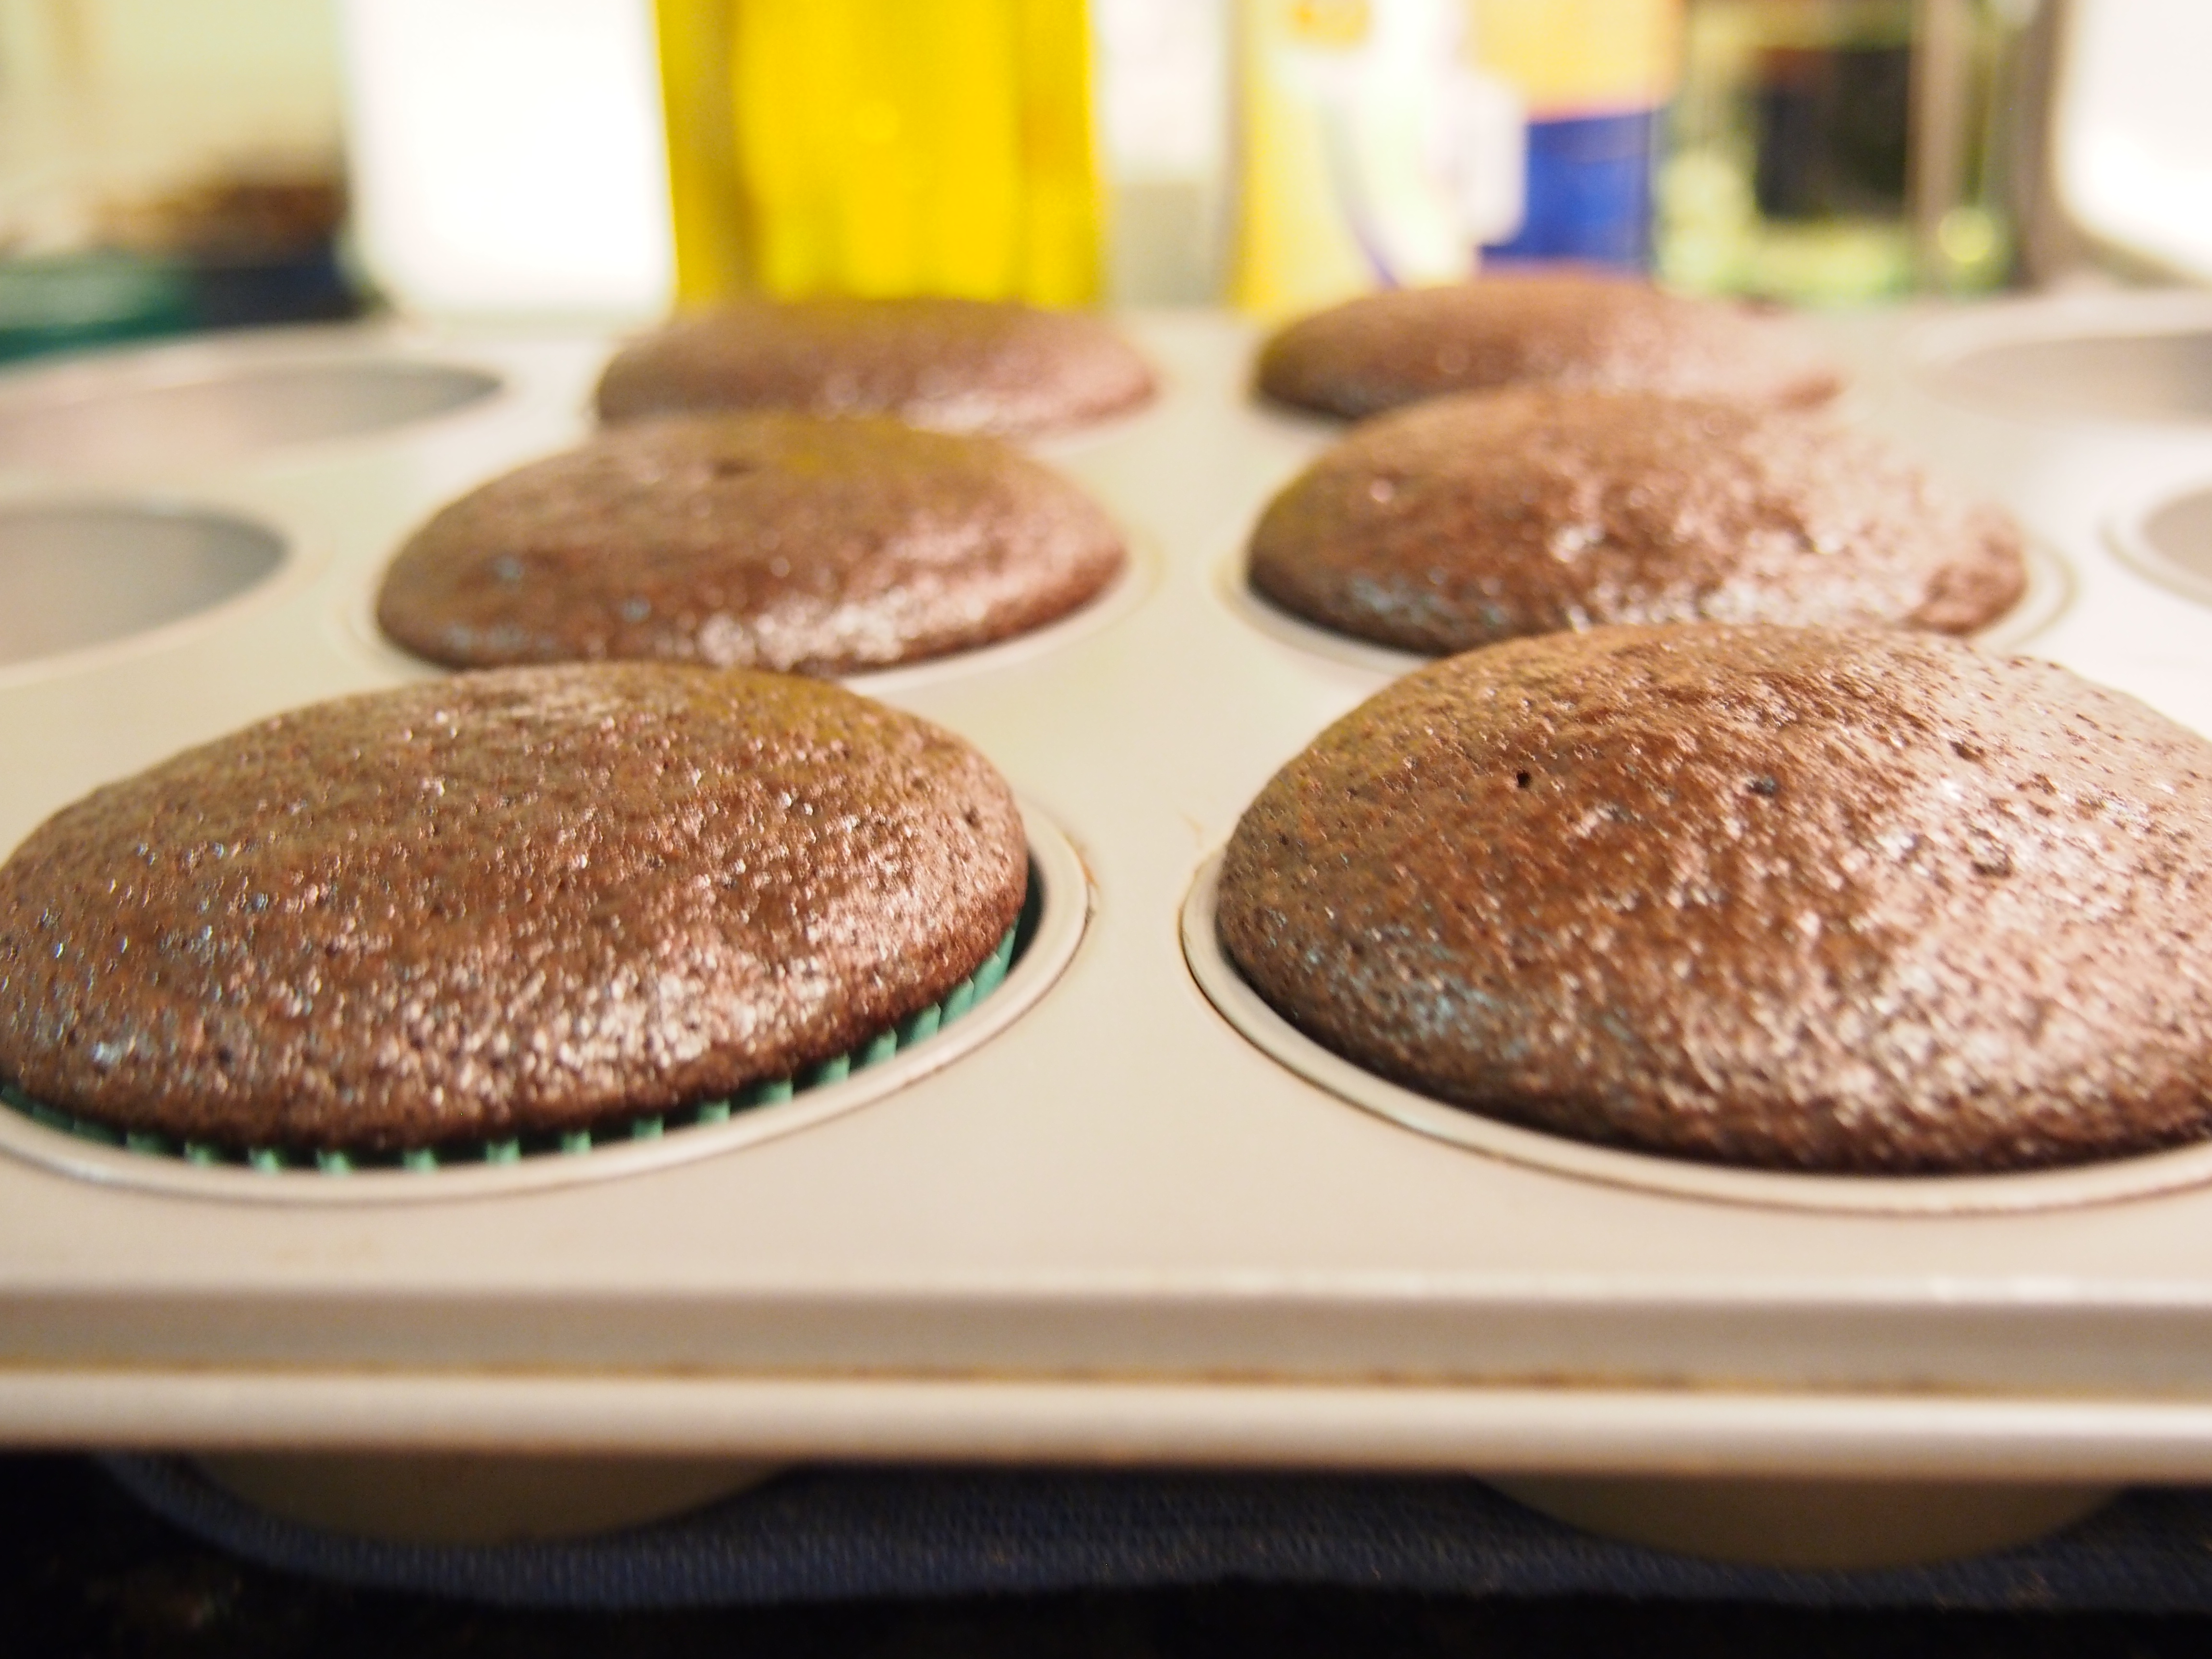
When it’s ready to go, pour it into cupcake tins (I went for about 2/3 of the way full), and stick ’em in the oven. I baked mine for 25 minutes at 300°F, but I’d keep an eye on them from the 20 minute mark on. They’re done when a toothpick (or other thin pointy testing apparatus) comes out clean.

OLYMPUS DIGITAL CAMERA

The Takeaway:

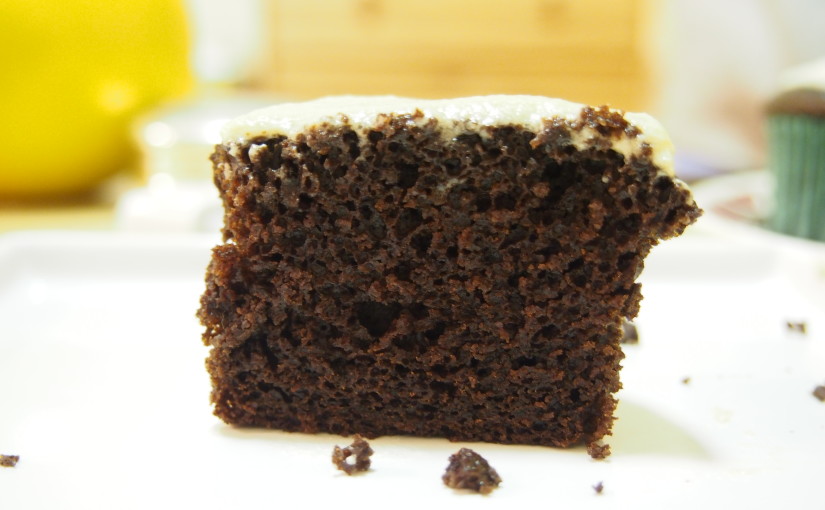
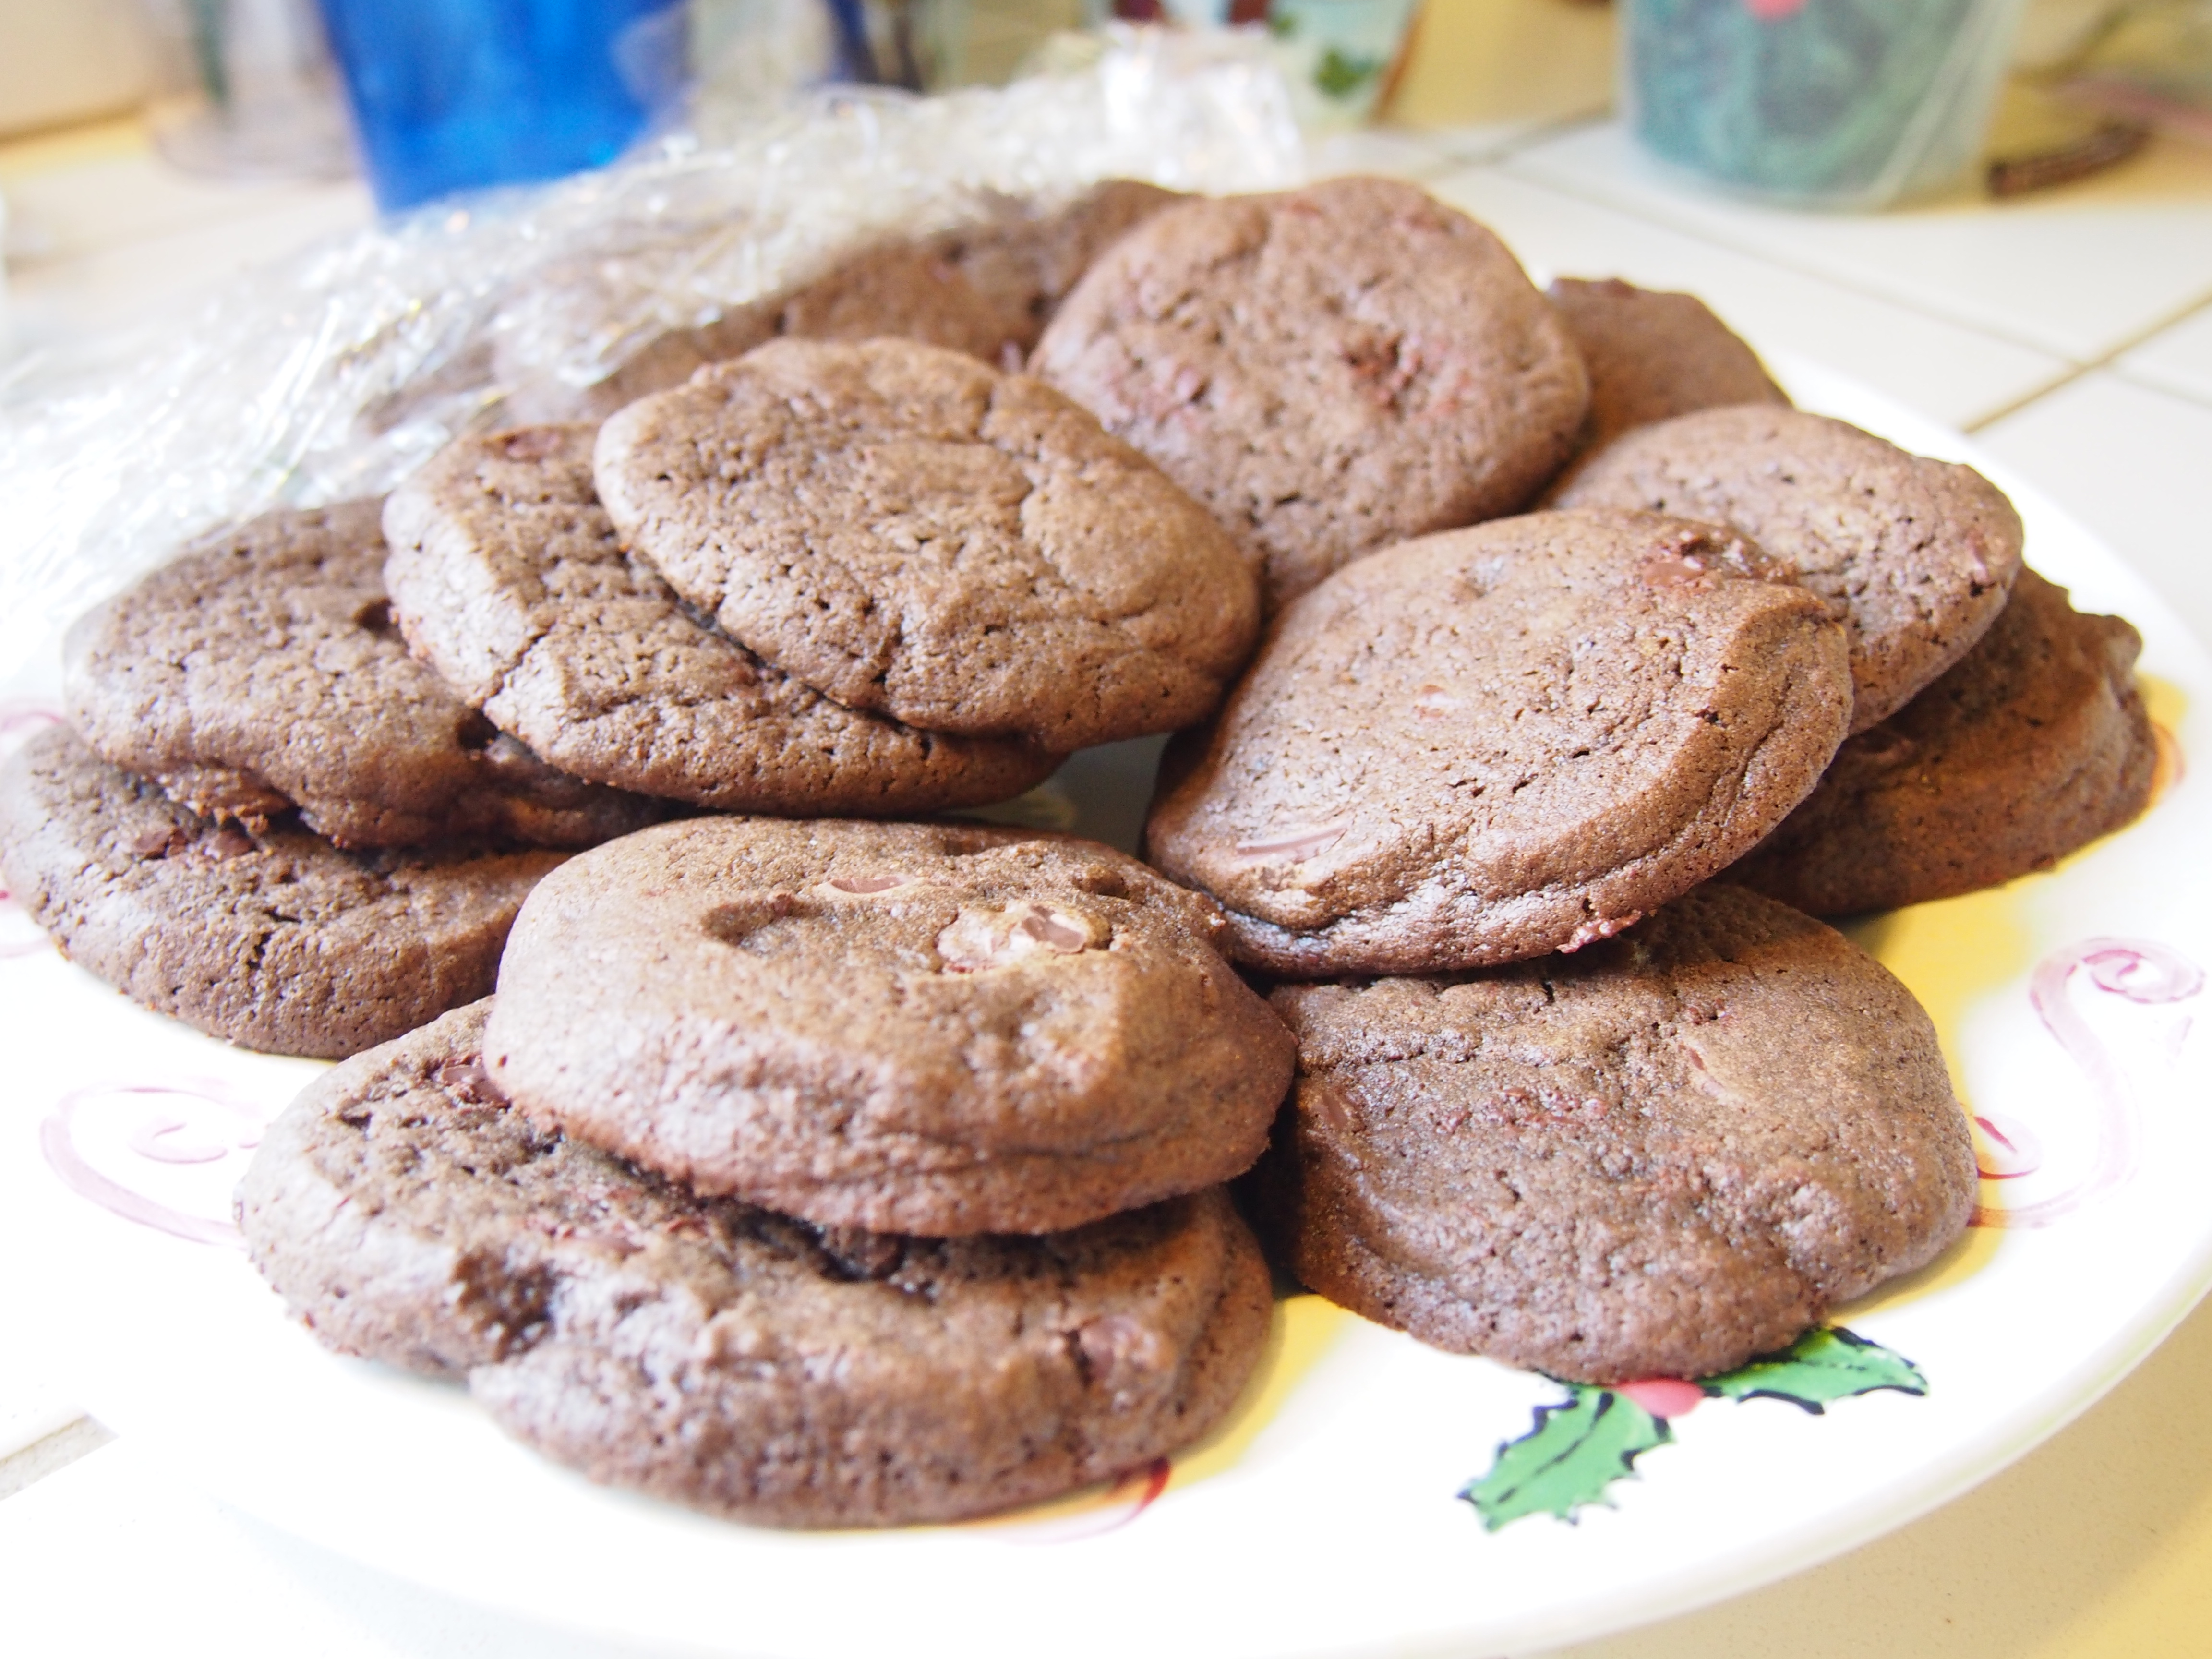
My professional taste-testing team (read: roommates and anyone who happened to be around the day I baked these) loved the taste and consistency of the cupcakes. They were moist and tender, without falling apart when you take a bite. I made cream cheese, vanilla and coffee frosting to test out different pairings, but the consistency and flavor of these wasn’t quite on-par with my expectations. I won’t be changing the recipe for the cake at this point, but I will be doing another test-run with a full-sized cake.

OLYMPUS DIGITAL CAMERA

The Recipe

1.5 oz (1/4 cup) semisweet chocolate chips
3/4 c hot brewed coffee
1 1/2 c sugar
1 1/4 c flour
3/4 c unsweetened cocoa powder
1 tsp baking soda
3/8 tsp baking powder
5/8 tsp table salt
2 large eggs
3/8 c vegetable oil
3/4 c coconut milk (plus 3/4 tbsp white vinegar)
1/2 tsp vanilla extract

1. Preheat oven to 300°F

2. Combine hot coffee with chocolate chips and stir until chocolate is melted and integrated. Set aside.

3. Sift together dry ingredients (sugar, flour, cocoa, baking soda and baking powder, salt) and stir to combine. Set aside.

4. Beat eggs until lemon yellow (5 minutes with electric hand mixer, 3 with standing mixer). Slowly add oil, coconut milk, and vanilla. When wet ingredients are well-blended, add cocoa mixture and stir with a whisk until just combined.

5. Pour into cupcake tins (alternatively, pour into 1 prepared 10″ cake pan).

6. Bake 25-30 minutes, checking for doneness starting at the 20 minute mark (60-70 minutes for 10″ cake). Let cool before frosting. Eat.

Black and White Not-So-Shortbread Cookies

I absolutely love Brown-eyed Baker‘s Salted Chocolate Shortbread cookies. To death. So I decided to play around with them for my family’s Christmas dinner this year. Results were deliciously mixed. My mom can’t have regular chocolate, so I adapted the recipe to make a vanilla bean white chocolate version. I also upped the chocolate level of the original version by adding some semisweet chocolate to the mix.

OLYMPUS DIGITAL CAMERA

A note on dechocolating (un-chocolate-ifying?) the recipe: because cocoa powder is alkaline, simply omitting it can mess with the integrity of the recipe a bit more than you want to. I added an extra half teaspoon of baking powder to the mix to help compensate, although in the future I might do baking soda instead. Play around with it.

The Process

OLYMPUS DIGITAL CAMERA

These require a metric crapload of butter, which is the not-so-secret to delicious cookies. Here is my butter, softening.

OLYMPUS DIGITAL CAMERA

Cream together butter and sugars, and once creamy, add egg. Blend until combined. If you’re going the vanilla bean route, now is the time to slice open that magical bean and scrape out the delicious, wonderful caviar that is vanilla bean seeds. A quick how-to aside: use a paring knife to slit the bean open length-wise along one side, and fold open like a sticky little book.

OLYMPUS DIGITAL CAMERA

Use a spoon to scrape out some of the black gold. MMMMMMMMM. Save the bean husk (?), it still has plenty of flavor and can be used to make vanilla sugar, vanilla extract….or whatever madcap infusion of vanilla-infused edible you want to dream up. Put it in a bag of coffee beans, maybe? I’m just spitballing here.

OLYMPUS DIGITAL CAMERA

If you’re not going the vanilla route, simply press on to the flour-mixture step, where you have adequately fortified your flour mixture with a healthy dose of cocoa powder. Blend on, man.

OLYMPUS DIGITAL CAMERA

Last step for the chocoholics out there: fold in some roughly chopped chocolate chips. In baking, folding simply means dumping the enfolded ingredient into the dough, then using a spatula to scoop dough up and over the ingredient, until said ingredient has been roughly incorporated into the dough. Don’t over-do.

OLYMPUS DIGITAL CAMERA

With the inclusion of the egg, chilling is probably not entirely necessary, but I found that it helped a lot with preventing the dough from spreading too much during the baking process. So assemble your dough(s) into a log, and wrap tightly in wax paper.

OLYMPUS DIGITAL CAMERA

Let your giant cookie dough joints chill in the fridge for a while, then slice them up into a 1-inch discs immediately before baking. Note to future-self: Do not set cookie sheet on top of preheated oven while assembling cookie dough. They will not hold their shape at all. Not that I’m speaking from personal experience or anything. Cough cough.

OLYMPUS DIGITAL CAMERA

Sprinkle with sea salt for the chocolate ones, or drizzle with white chocolate for the vanilla bean ones. Or you know what? Drizzle chocolate on the chocolate ones and sea salt on the vanilla ones. The world is your chocolate oyster.

OLYMPUS DIGITAL CAMERAThe Recipes

Chocolate Not-So-Shortbread Cookies

1¼ cups all-purpose flour
1/3 cup unsweetened cocoa powder
½ teaspoon baking soda
1 stick plus 3 tablespoons (11 tablespoons) unsalted butter, at room temperature
2/3 cup light brown sugar
¼ granulated sugar
¼ teaspoon fine sea salt, plus extra for sprinkling
1 egg
1 teaspoon vanilla extract
1/2 cup semisweet chocolate, roughly chopped

Vanilla Bean Not-So-Shortbread Cookies

1¼ cups all-purpose flour
1/3 cup unsweetened cocoa powder
1 teaspoon baking soda
1 stick plus 3 tablespoons (11 tablespoons) unsalted butter, at room temperature
2/3 cup light brown sugar
¼ granulated sugar
¼ teaspoon fine sea salt
1/2 cup white chocolate chips, for drizzling
1 inch section of vanilla bean, scraped (or 1 tsp vanilla extract)

OLYMPUS DIGITAL CAMERA

Fluffy Blueberry Pancakes

I love making breakfast for people. My friends know this well; every time I have overnight guests they are regaled with some kind of concoction that required me to wake up early and possible make a run to the store. Unfortunately for me, my boyfriend has a penchant for cereal. He’s happy to eat it every morning, regardless of my enthusiastic offers to whip up cinnamon rolls or eggs or anything other than granola. Sigh.

Last weekend he caved and let me make him blueberry pancakes. There are several “secret” ingredients that make for soft, fluffy, lofty, perfect pancakes. Any one of them on their own would be awesome, but together they make cloud-like wonders. Mmm.

Secret Ingredient #1: “Buttermilk”

Sure, you could use milk, but I think the tangy, thick consistency of buttermilk gives pancakes a bit more complexity. Here’s my own little secret: I almost never keep buttermilk around the apartment. I just don’t have enough recipes to burn through a carton quickly enough, and I hate tossing food. I usually make a concoction of half milk, half plain yogurt and stir it up for a thick but not too thick substitute.

"Buttermilk"

Secret Ingredient #2: Butter

What’s that you say? “But I put butter on top of my pancakes! Why should I put butter inside my pancakes?” To which I say…I did not say anything about this being a healthy recipe, friend. Melt it down and cool it for a few minutes before you add it to the batter, lest you cook the egg before their time.

pancakes melting butter

Secret Ingredient #4, which is not an ingredient at all.

The real key for delicious, lofty pancakes is not what you put in the batter, but how you mix it up. Don’t overbeat. Don’t overbeat. Don’t overbeat. There, I’ve told you 3 times so that should be enough.  You’re gonna want to, but don’t. In fact, don’t even use the word beat- gently mix as you add your wet ingredients to your dry ingredients and give a wooden spoon maybe a dozen laps around the bowl.

pancake batter

It might be a little lumpy looking, but that’s ok. This batter is especially thick and gooey, so it might not look like your standard Bisquick batter. If it’s too thick to stir, add a drizzle of milk or too. Now for the main attraction….

blueberries

I used frozen blueberries, which is fine, but if you follow in my footsteps make sure you thaw them before you bake the pancakes, otherwise they keep the batter from cooking evenly and you end up with pockets of uncooked dough around your blueberries. Bleh. Fold your little blue buddies in very carefully, so they don’t ooze their purple juices too much.

baking pancakes

You might need a team of spoons to scrape the dough into the pan, but trust me, it’s alllll worth it in the end.

Fluffy Blueberry Pancakes

Serves 4, or 2 very hungry people.

2 cups all purpose flour
1 tsp baking powder
1/2 tsp baking soda
1 tsp salt
1 1/2 tbsp sugar
2 large eggs
1 tsp vanilla
4 tbsp butter, melted and cooled slightly
1 cup milk
1 cup yogurt
3/4 cup fresh or frozen (thawed) blueberries

1. Prepare wet ingredients. Melt butter in skillet, set aside to cool.  While it’s cooling, mix milk and yogurt together. In a separate bowl, beat the eggs.

2. Combine dry ingredients in a large bowl. Whisk together and set aside.

3. Add buttermilk and butter to eggs, and add vanilla. Whisk until homogenous.

4. Add wet ingredients to dry and gently stir to combine. Start with 12 stirs, check consistency, and stir a few rounds at a time until batter is just combined.

5. Fold in blueberries. Use a rubber spatula to turn them into the batter- it shouldn’t take more than a few stirs. 

6. Set a large nonstick pan over medium heat, and a small amount of butter when it’s hot. Just a half tablespoon or so is probably plenty. Spread it with a paper towel until there’s a very, very thin layer of butter on the pan.

7. Scoop pancake batter 1/4 at a time onto pan. Let the cakes cook without touching them for at least 1 1/2 to 2 minutes, or until the top stars to bubble very slightly. Flip and continue to cook on second side for another 2 minutes. Continue in batches until batter is gone.

Okay, so these work best if you only flip them once, but nobody’s perfect, so if your pancakes aren’t quite golden enough on the first try you can go ahead and flip them twice. I won’t tell. 

Serve hot, with butter and syrup. Or blueberry jam, if you’re really into blueberries. 

Blueberry Pancakes

Roasted Tomato Soup

Here’s the thing about produce in San Francisco; if you’re going to buy a tomato, you’ve got to practically invest in a tomato. I’ve found inner city grocery store produce to be exceptionally uninspiring, but the alternative is the pedigreed-heirloom-organically-coddled $8/lb tomatoes that you find in the hipsterrific boroughs. Lucky for me, tomatoes are in season right now, so it’s gotten just a bit easier to find ripe, fresh, flavorful tomatoes that I remember picking in my backyard.

Hello, beauties.

Hello, beauties.

I picked up a couple pounds of San Marzano tomatoes to make Smitten Kitchen’s Roasted Tomato Soup this afternoon. I also nabbed some cherry tomatoes to make another SK recipe that I’ve been lusting after for a little while, but that’s another story.

This is not a difficult recipe, although it’s a bit time consuming to properly roast the tomatoes, so I’d budget at least 1-1/2 to 2 hours for prep before you can dig in.

1. Wash and slice those tomatoes (plum, or another firm varietal, works best) lengthwise and arrange cut-side up on a baking sheet.

2. Generously sprinkle tomatoes with salt and pepper, then drizzle with olive oil. My dad recently gave me a jar of sea salt he collected from the coastline up beyond the Golden Gate, far from our polluted water. I’ve been using it a lot and haven’t died yet, so.

Prep site AND baking sheet in one long shot.

Prep site AND baking sheet in one long shot.

Fresh sea salt. Mmm.

Fresh sea salt. Mmm.

3. Roast tomatoes at 400F for about an hour, or until soft and brownish. I’d recommend taking the garlic out before the hour-mark, as about half of mine were too overcooked and too hard for soup by the time i took them out of the oven. 30-40 minutes should do the trick.

Post-Roast

Post-Roast

4. Let the fruits of your labor (ha!) cool for a bit, while you prep the pan for the rest of your soupy goodness. I did 3 1/3 cups water + a healthy dose of chicken bouillon, but broth or stock would work equally well, if not better. I started the water simmering with half a bouillon cube while the tomatoes were resting.

5. Scoop the tomatoes and the (now-peeled) garlic into your food processor or blender and pulse ’til it’s a delicious, chunky puree. If you want your soup smoother, by all means keep going, but a little texture is nice with these flavors.

6. Add the tomato puree along with 1/4 tsp dried thyme and 1/4 tsp red chili flakes to the broth. Bring to a boil, then let it simmer for about 25 minutes. You’ll want to keep it uncovered so that the flavors can concentrate and the soup can thicken up a bit.

Serve however you like – I ate mine with crushed up crackers because I was starving by the time I was done, but the original recipe suggests topping it off with an open-faced, broiled grilled cheese sandwich. Words are not enough to express how good of an idea this is.

I recommend everyone check out Deb’s recipe  at Smitten Kitchen for exact proportions, vastly superior pictures and excellent serving suggestions.

I wish I had some goldfish crackers.

I wish I had some goldfish crackers.